
Why Kombucha? If you haven’t already heard, Kombucha is an incredibly healthy carbonated drink that tastes great! But it’s often very pricey, and for the delicious taste, it is often worth experimenting with making your own kombucha because it’s easy and fun!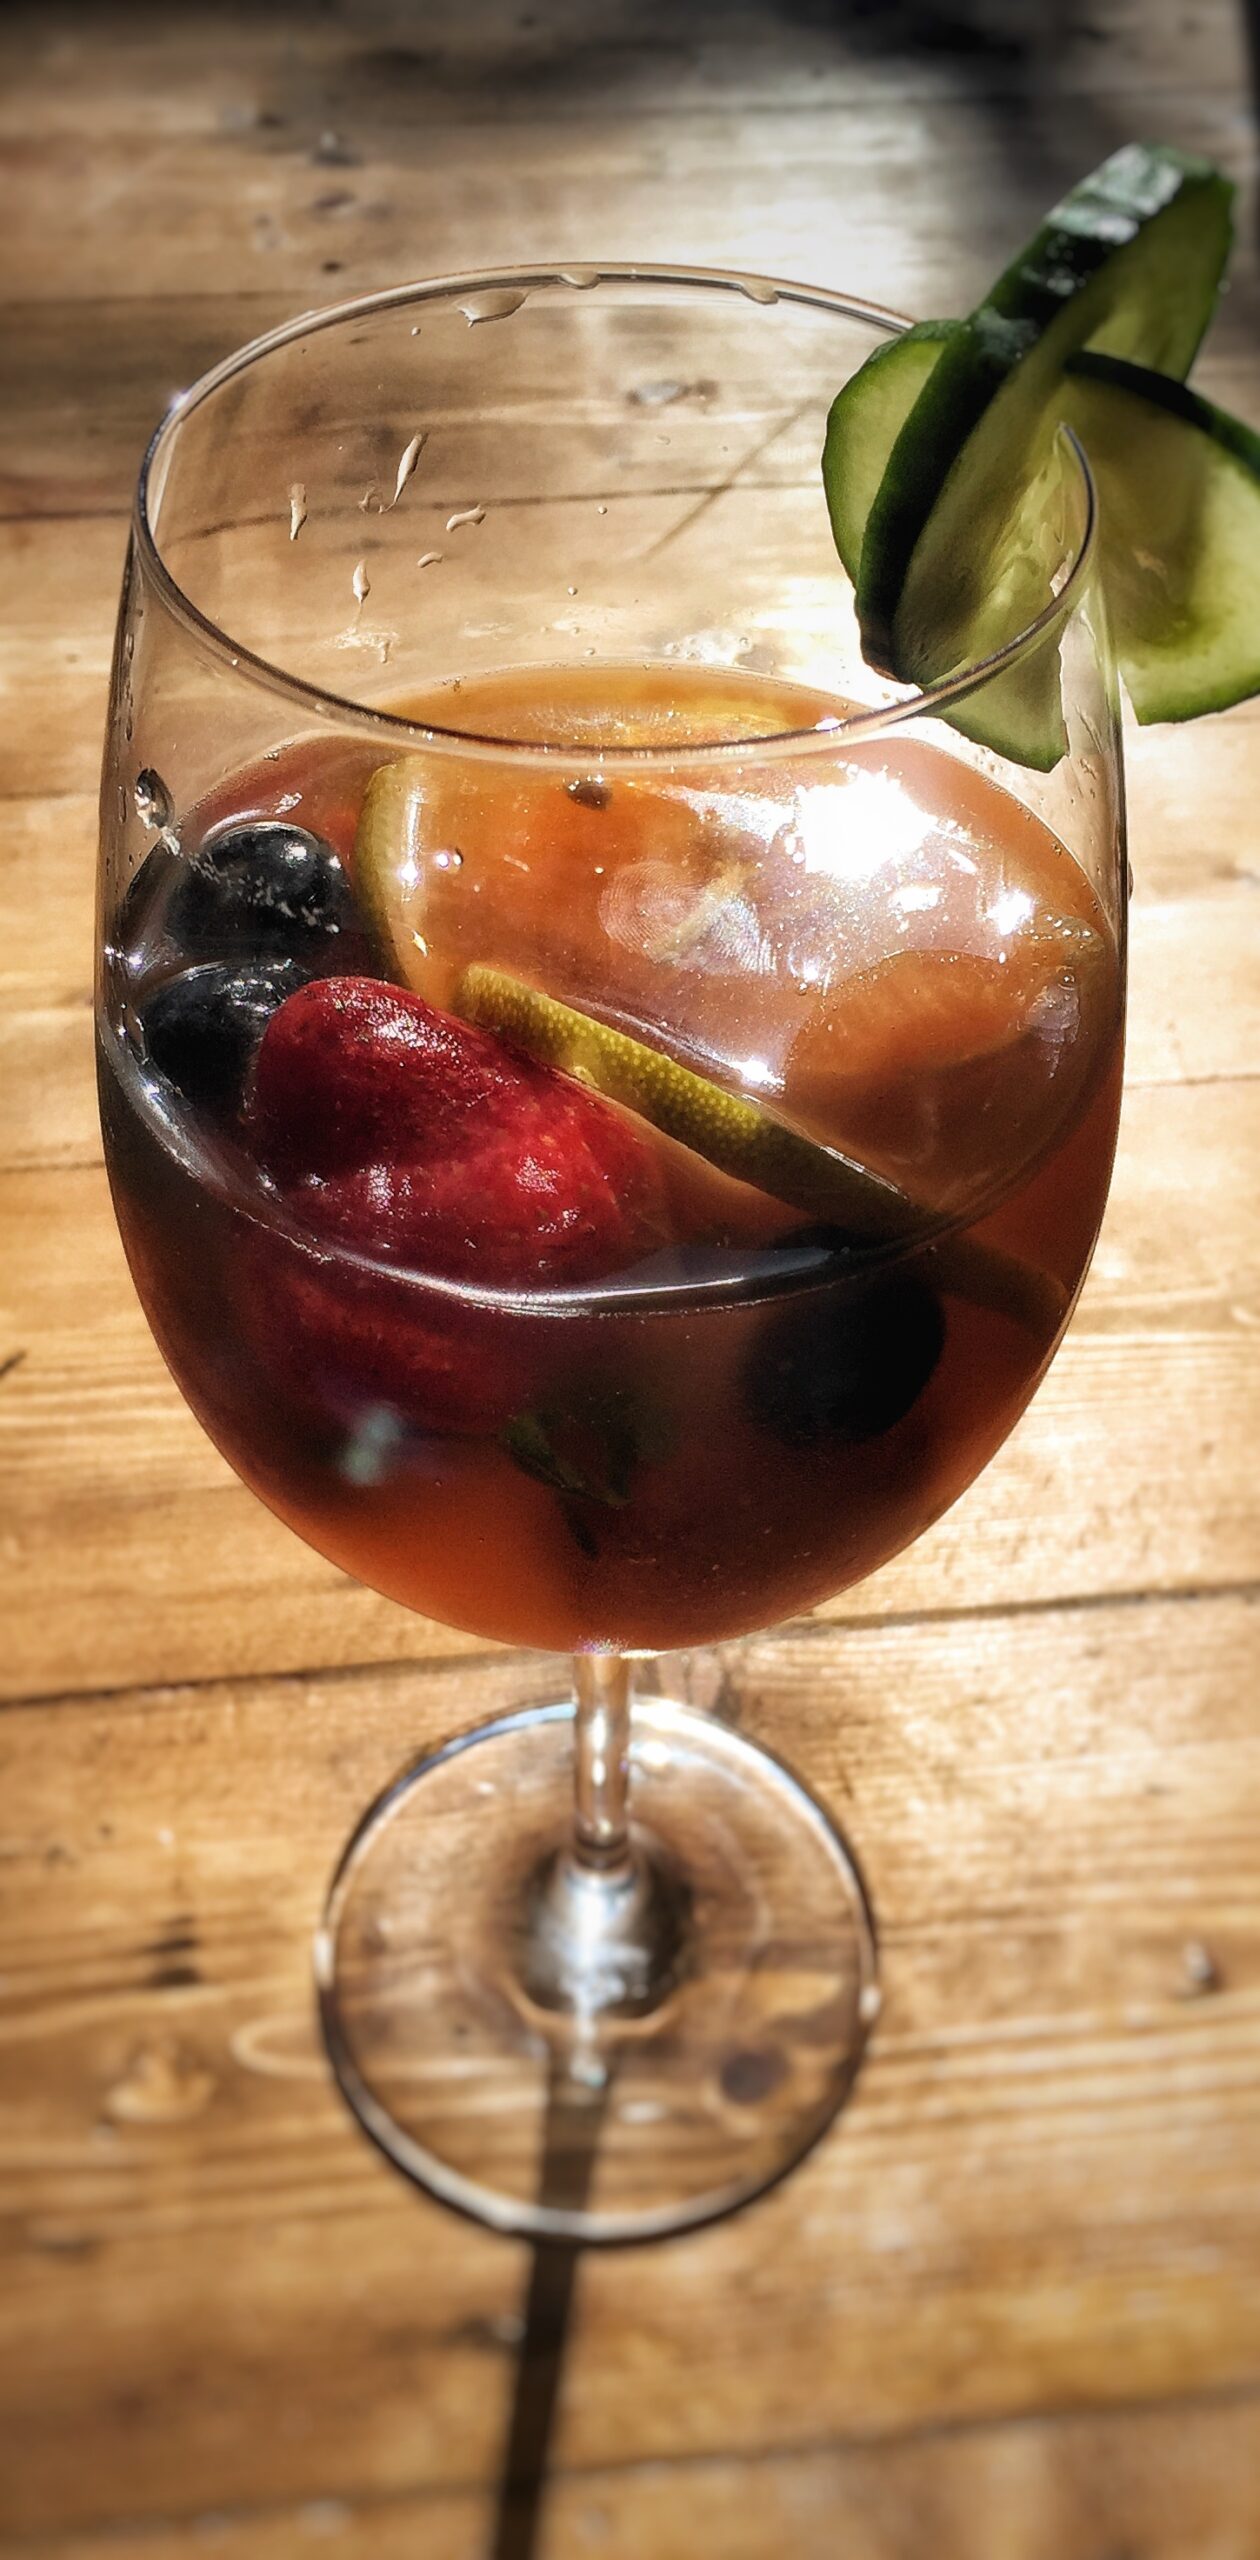
General Rules of Thumb
To begin this fun process there are a few things to remember
- Clean is key – make sure you are constantly washing all surfaces and your hands, as you are basically making the perfect location for bacteria to grow. So to keep only the good SCOBY around, you need to make sure everything is as clean as possible.
- Patience and Persistence – making kombucha is a mix between having a pet and a plant – with the attention needed being minimal but once a day, and it takes a few weeks before you reap the rewards.
With that out of the way, it’s time to start your healthy-drink-pet-making adventure!
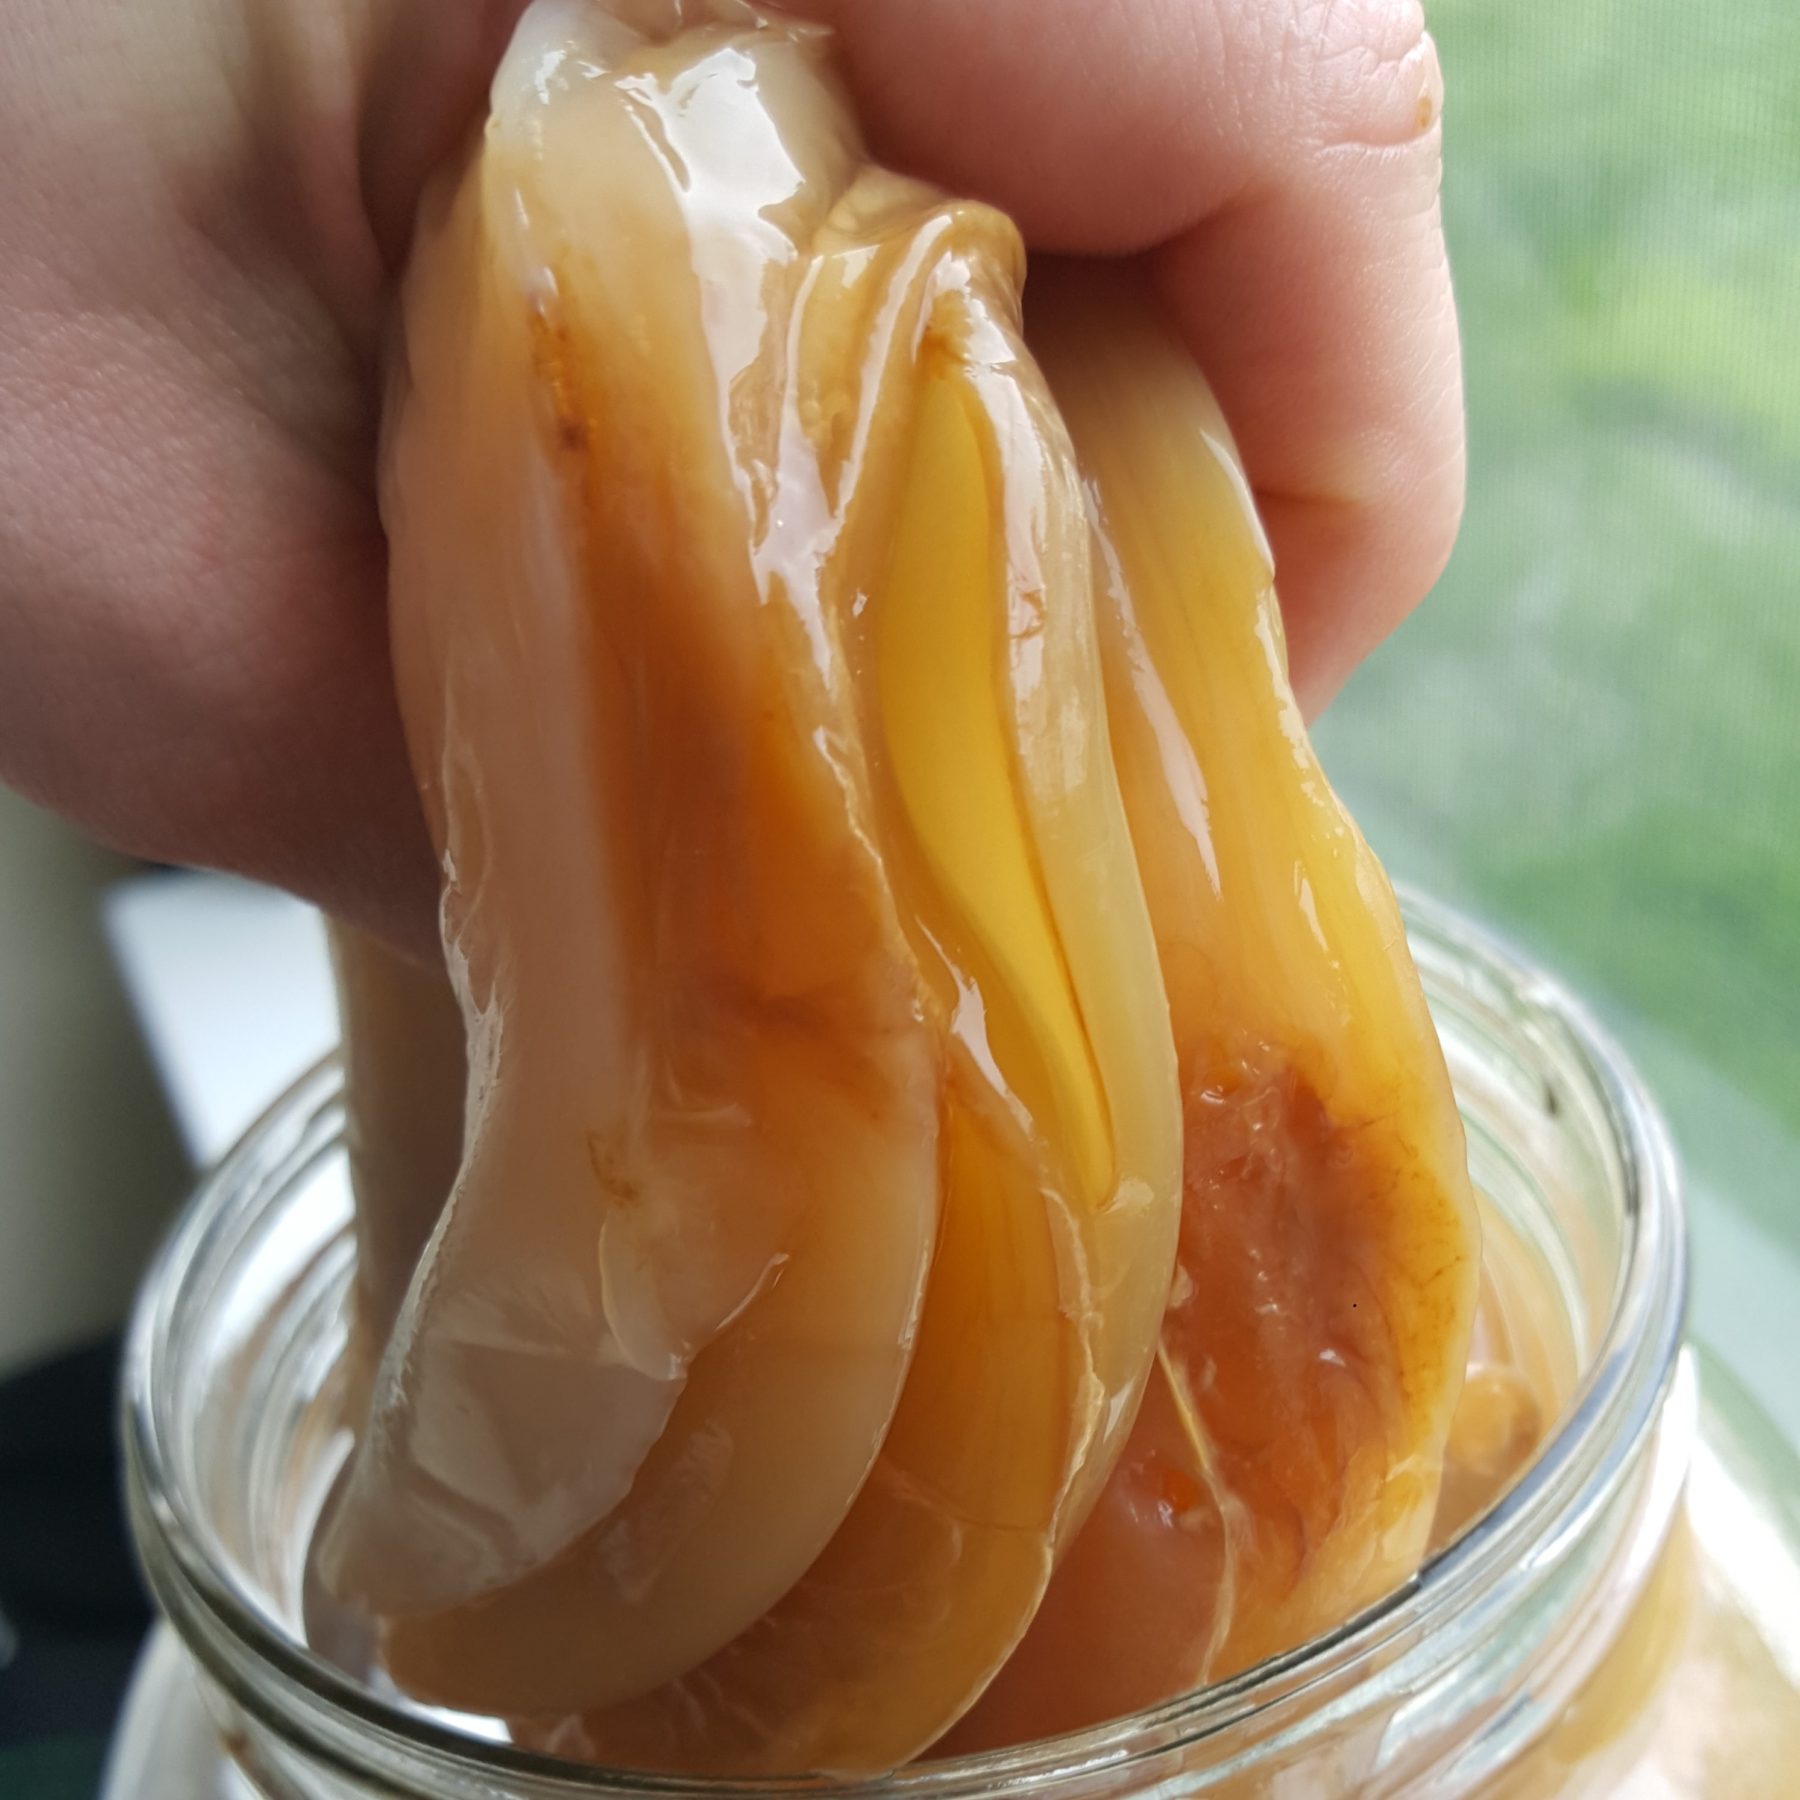
With this guide, we recommend buying a kombucha starter kit that comes with a small little SCOBY ready. We find that making a SCOBY from scratch can be a very tedious and difficult process and is drastically easier to start with a premade SCOBY batch. While doable, it is often worth the small purchase of $14.
Stage One Fermentation
Needed:
14 cups clean water
1 cup (200 g) white sugar
8 bags black or green tea
Kombucha starter kit
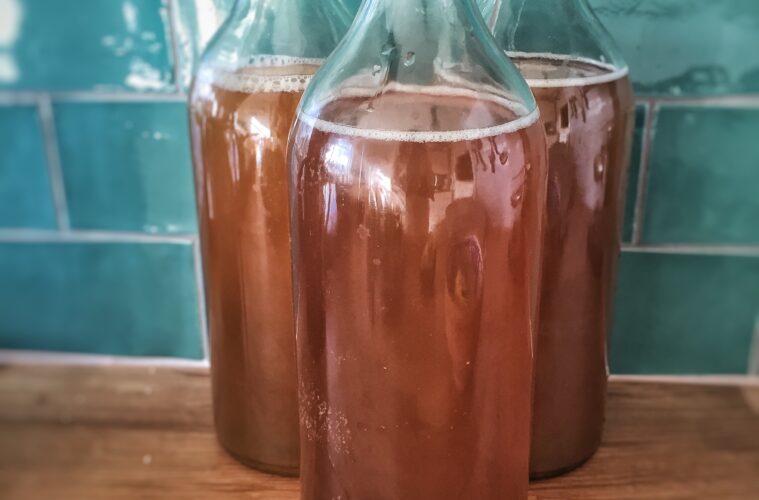
One glass or ceramic jug holding at least 3.7 L. Alternatively, use a glass jug with a built in spigot to make pouring the kombucha out easier!
Tightly woven cloth (coffee filters, paper towels, napkins, cheese cloth)
Rubberbands
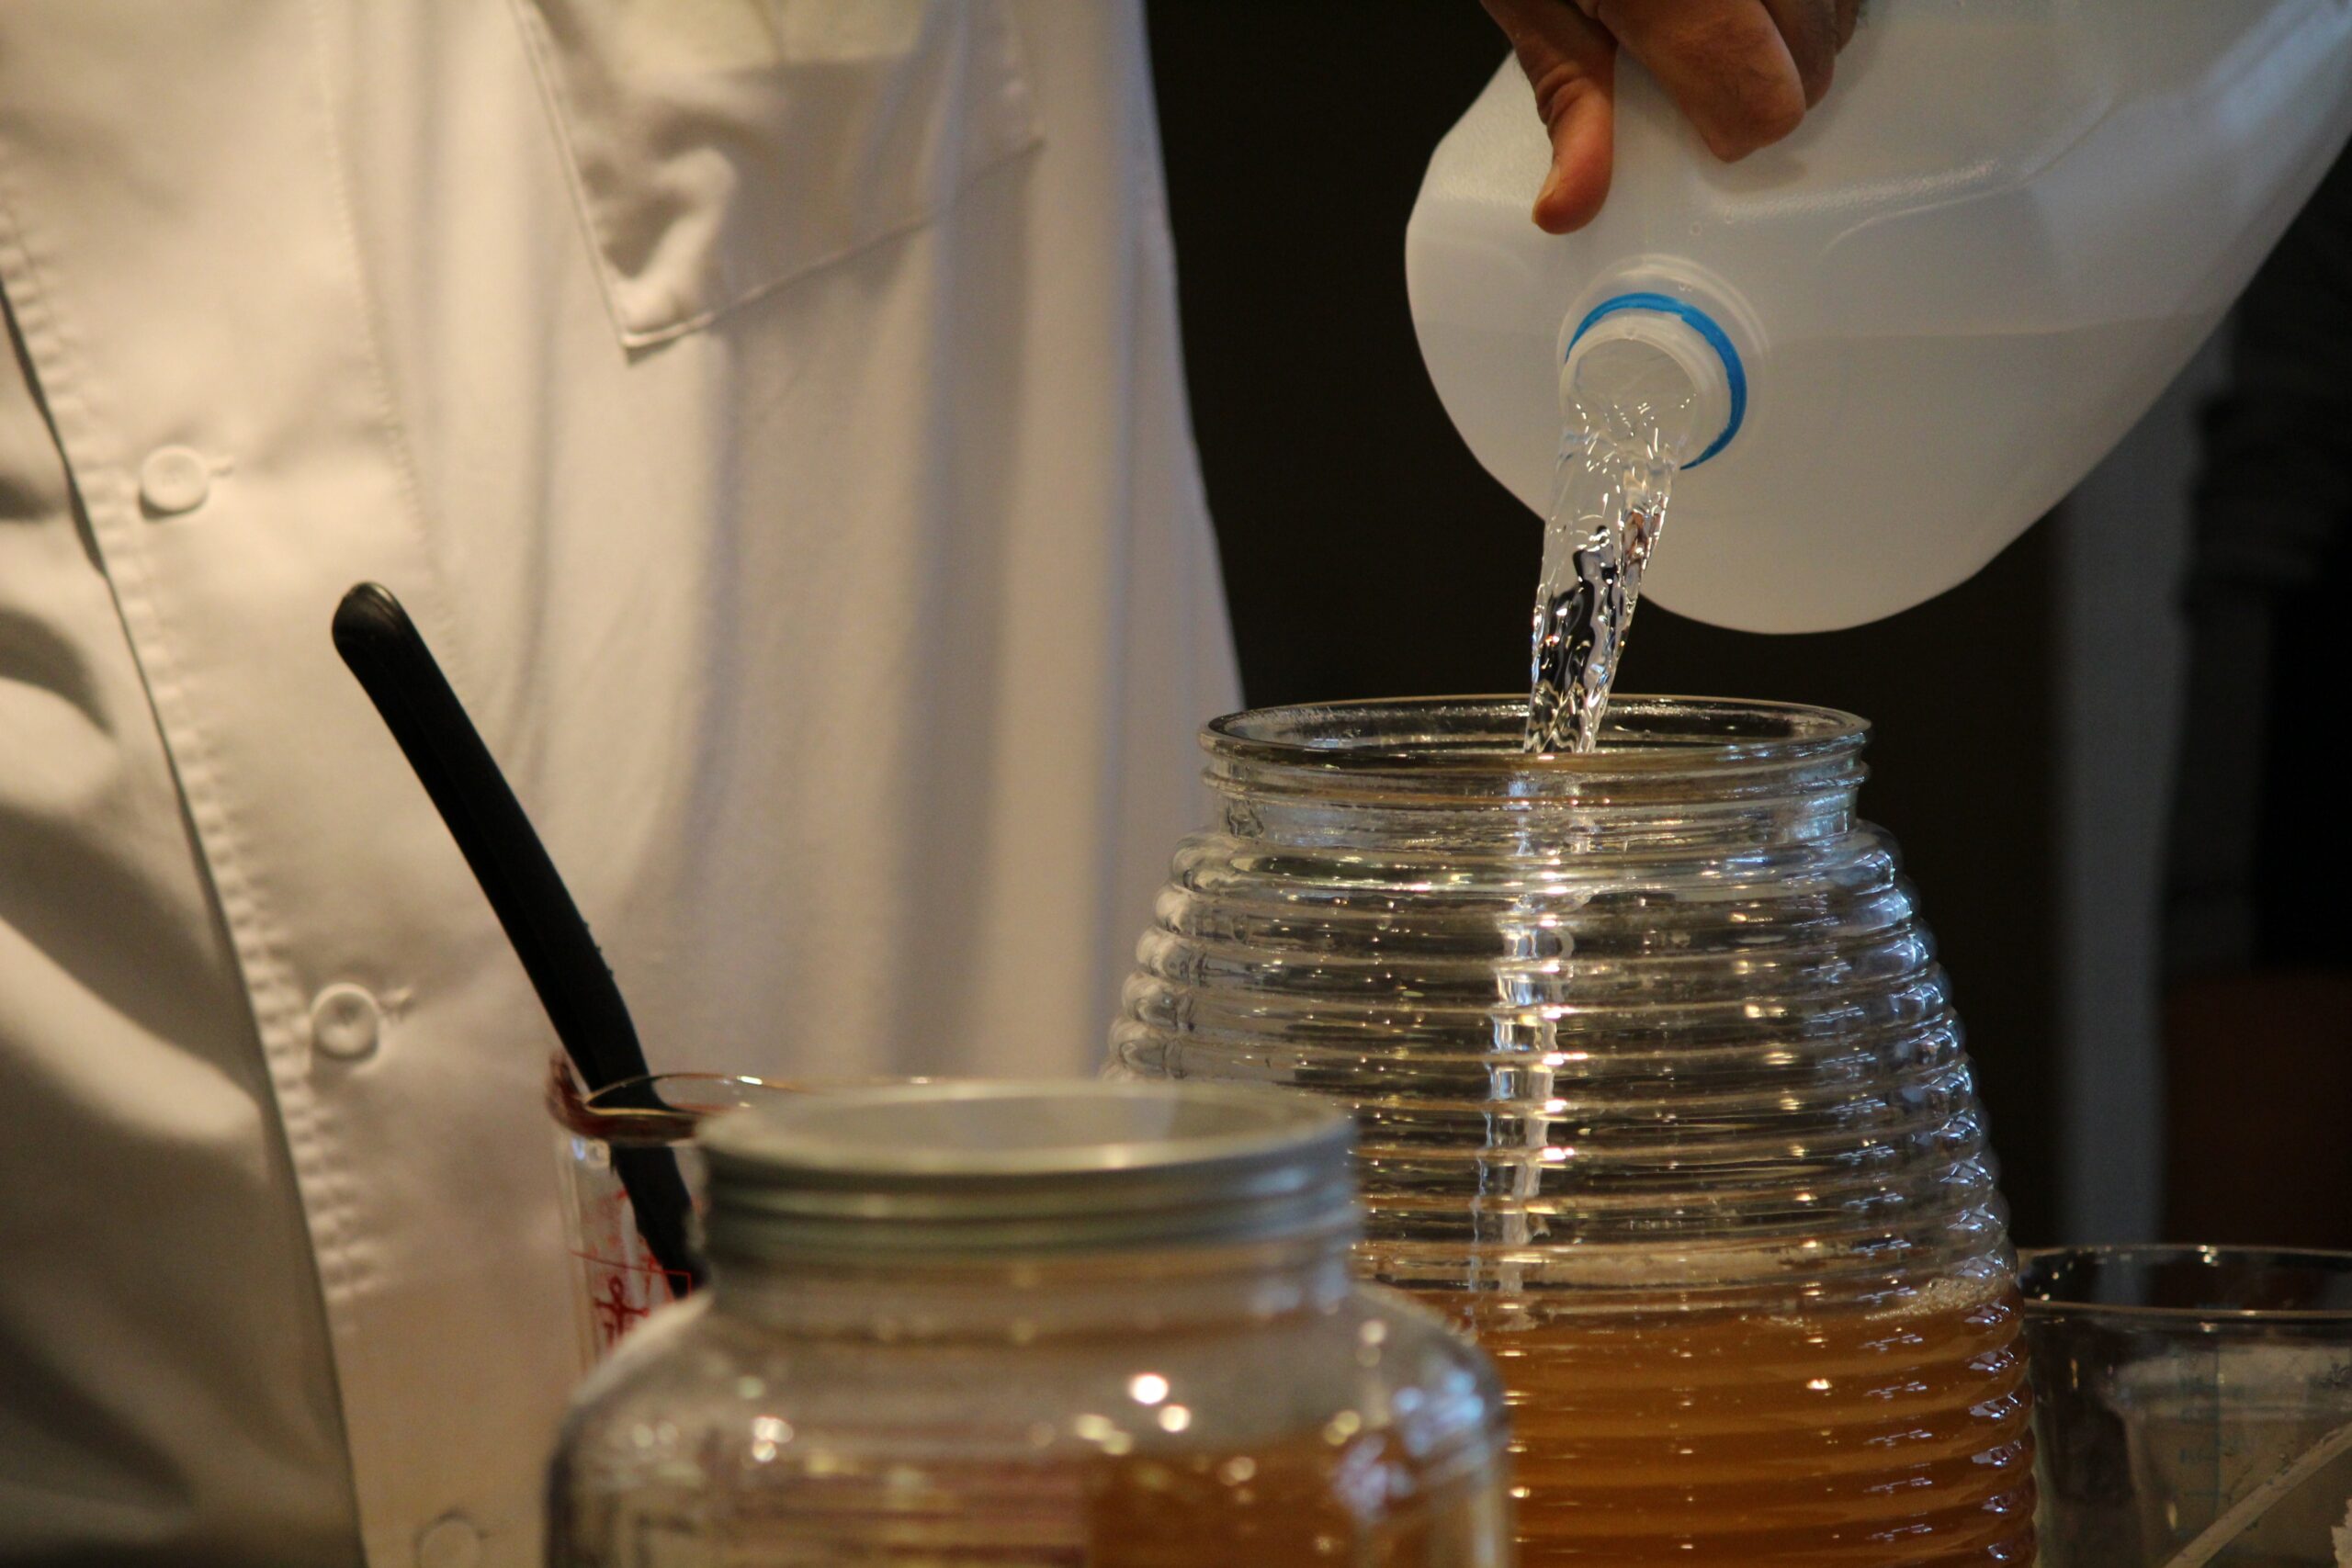
First Fermentation Instructions:
Boil the water, remove from heat and dissolve sugar into it.
Add the tea and allow to steep until the water cools to room temperature (a few hours – make sure it’s room temp!).
Pour the sweetened tea and the starter kombucha into your jar.
Carefully place the SCOBY into the jar.
Finally, cover the jar with the tightly woven cloth of your choice and secure it with rubber bands.
Now the complicated work is done. From here you leave your soon-to-be kombucha jar in a dark room around room temp. After 6 days you should begin a taste test every so often until you find the perfect sweetness for you. For extreme health freaks, you can leave this for several weeks – but be warned about the extreme acidity after around the 3-week mark. As a heads up, the longer it ferments, the less sweet it will be.
Make sure to reserve 2 cups to use as starter kombucha for your next batch, you can leave it in the jar with SCOBY. The rest can move into the second and final fermentation.
Stage Two Fermentation
This is by far the most fun part, here you can add any flavouring you like – I often make a ginger strawberry mix! The intensity of flavour is very subjective, so do what works for you. Just make sure to put your kombucha into airtight containers and pop them once or twice a day.
Hope you all enjoy your homemade Kombucha!