

Learn about some of the best vegan desserts that are incredibly healthy and taste amazing! With a range of a quick snack to a full-out baking day, these top 3 desserts will cover all your bases.

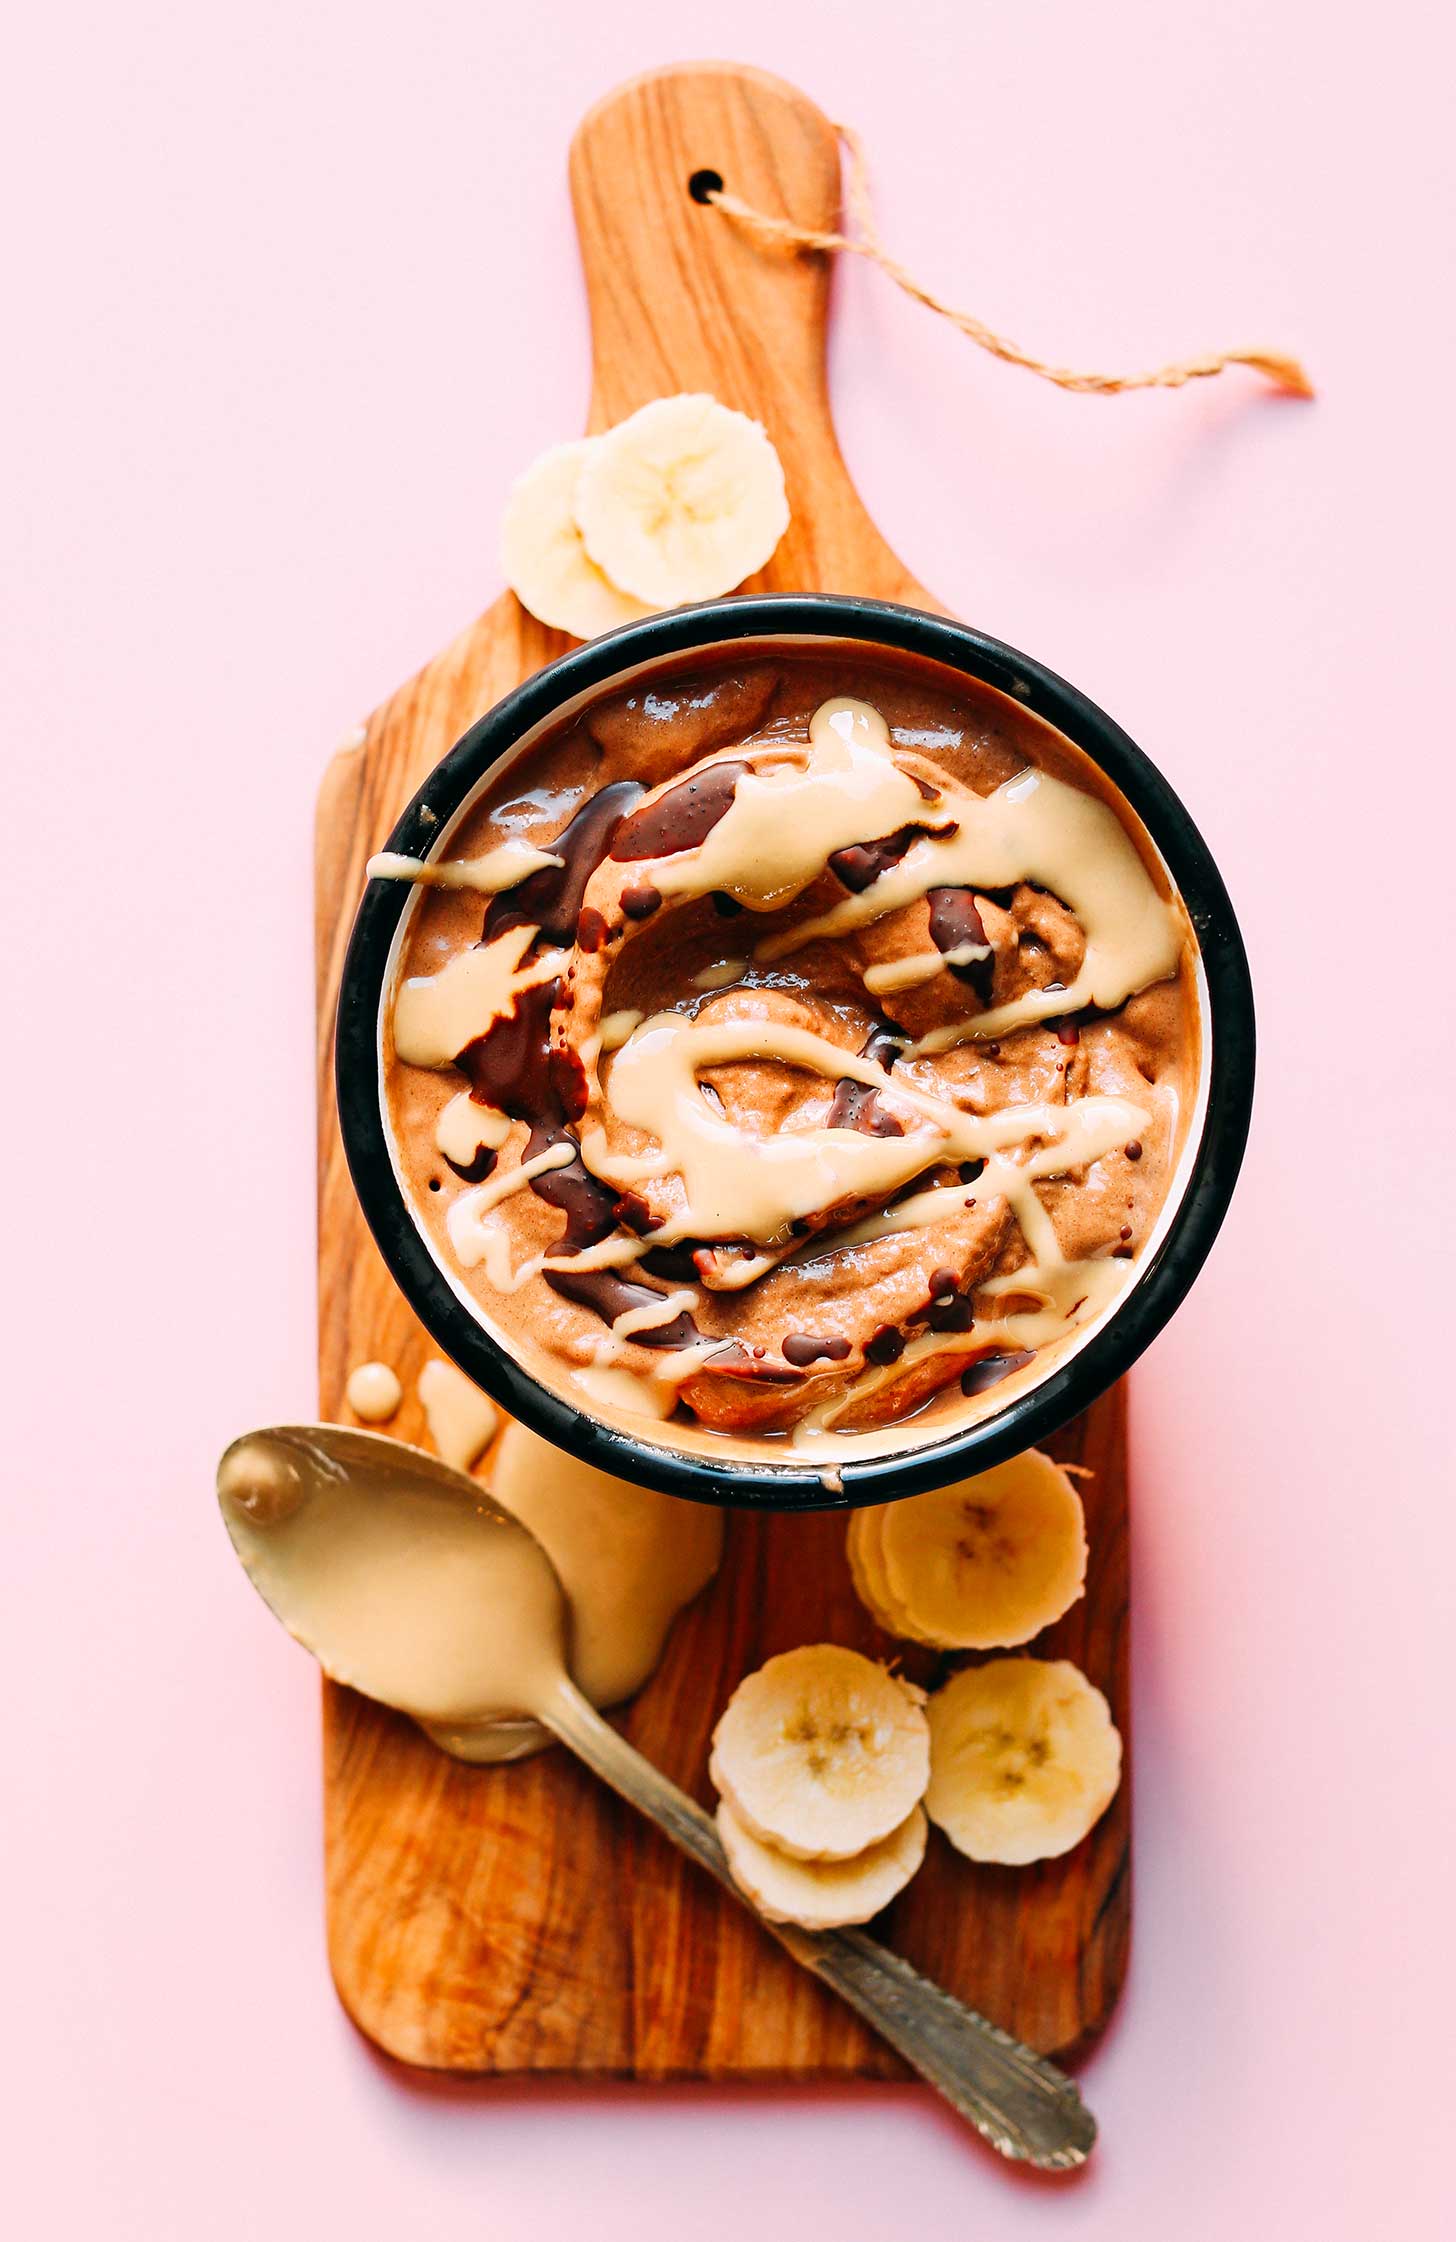
Tahini Chocolate Banana Soft Serve
Source: Minimalistbaker
First on our list is the easiest and quickest to make, this insanely creamy dessert only takes 10 minutes in total! With such a naturally sweet taste, this healthy and delicious plant-based snack is a fantastic treat to add to your repertoire.
Prep Time: 10 Minutes
Total Time: 10 minutes
Servings: 1
Ingredients
- 1 cups ripe sliced frozen bananas
- 1 Tbsp tahini (sesame seed paste // or sub other nut/seed butter // plus more for serving)
- 1.5 Tbsp cacao (or unsweetened cocoa) powder
- 0.5-1 Tbsp maple syrup (or sub dates or other sweetener (i.e. stevia) to taste)
- 0.5-1 ripe pitted dates (optional)
- 0.5 tsp vanilla extract (optional)
- 0.5 pinch sea salt (optional)
- FOR TOPPING optional
- 0.5-1 Tbsp Magic Shell*
Instructions
- Add ripe, sliced, frozen bananas to a food processor or a high-speed blender and mix/blend until a creamy “soft serve” is formed, scraping down sides as needed – about 3-5 minutes.
- Add tahini (or other nuts/seed butter), cacao powder, and maple syrup and blend to combine. Then taste and adjust flavors as needed, adding more tahini for nuttiness, cacao for an intense chocolate flavor, or maple syrup (or pitted dates) for sweetness. At this time, you can also add vanilla extract or a pinch of sea salt for more flavor. Mix as needed to combine.
- Serve immediately or transfer to serving bowls and put in the freezer to thicken up. Serve as is or top with additional tahini or magic shell!
- Best when fresh. Leftovers will keep in the freezer for up to 1 week. Let come back to soft-serve consistency at room temperature before enjoying.
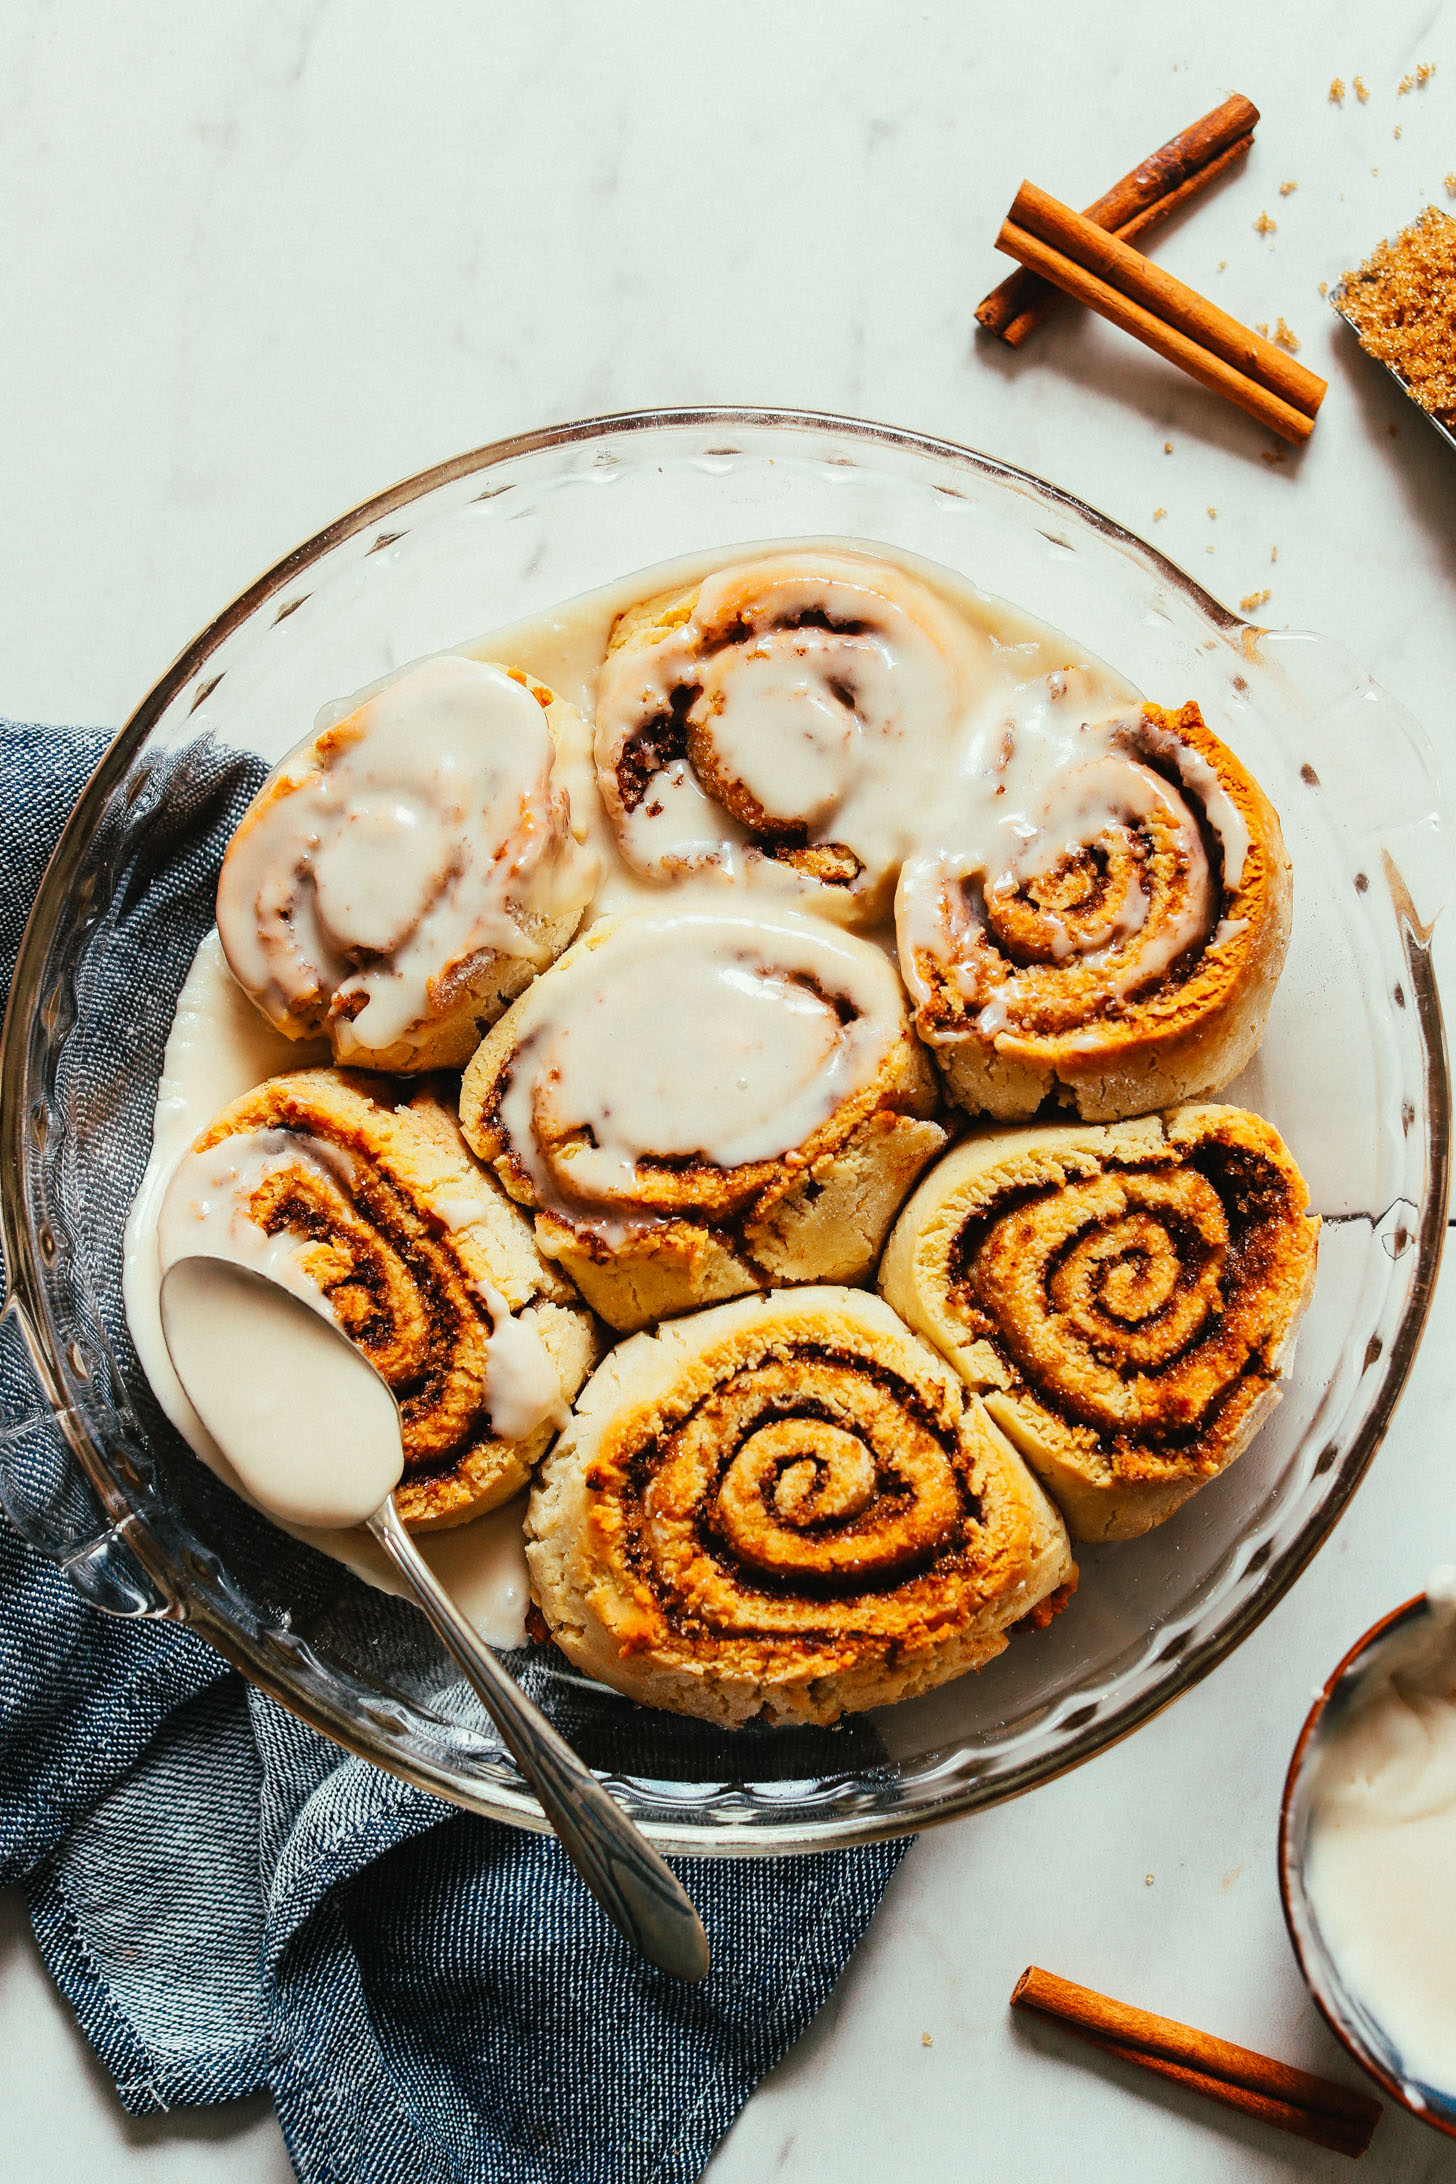
Vegan Gluten-Free Cinnamon Rolls
Source: Minimalistbaker
Who doesn’t love cinnamon rolls? The only downside to cinnamon rolls is that they are so unhealthy, however, these cinnamon rolls are vegan, gluten-free, and far healthier than the original. With just 10 ingredients and simple methods required, these insanely flavorful cinnamon rolls are absolutely delicious!
Prep Time: 45 Minutes
Cook Time: 30 Minutes
Total Time: 1 Hour 15 Minutes
Servings: 7
Ingredients
Wet
- 3/4 scant cup unsweetened plain almond milk (or other dairy-free milk)
- 2 Tbsp organic cane sugar
- 1 Tbsp vegan butter (We like Myoko’s brand or Earth Balance)
- 1 packet active dry yeast (~2 1/4 tsp as the recipe is written // I like Fleischmann’s active dry original)
Dry
- 2 cups DIY gluten-free flour blend* (with xanthan gum)
- 3/4 cup almond flour (not almond meal // I like Wellbee’s brand)
- 2 Tbsp cane sugar
- 2 1/2 tsp baking powder
- 1/2 tsp sea salt
- 4 Tbsp cold vegan butter
Filling
- 3 Tbsp melted vegan butter
- 2/3 cup organic brown sugar (light or dark)
- 1 Tbsp ground cinnamon
Frosting (Optional)
- Vegan Cream Cheese Frosting
- Simple Powdered Sugar Glaze (see notes)
Instructions
- Preheat the oven to 350 degrees F (176 C) and use vegan butter oil to lightly coat a standard pie plate or round baking dish. Set aside.
- Heat dairy-free milk in the microwave or on the stovetop to the temperature of warm bath water – approximately 110 degrees F (43 C). Be careful not to exceed that temperature or it can kill the yeast.
- To the dairy-free milk, add the vegan butter and sugar and stir melt. Then add yeast and stir once more. Set aside (uncovered) to proof for 10 minutes, or until it appears puffy on the surface (this indicates the yeast is activating. If it hasn’t activated at this point, either your yeast was expired or the liquid was too hot or not hot enough).
- Meanwhile in a medium mixing bowl whisk together gluten-free flour blend (including xanthan gum), almond flour, cane sugar, baking powder, and sea salt. Then add cold vegan butter and use a fork or pastry cutter to mix or “cut” into the dry mixture. It should resemble the texture of wet sand (see photo).
- To the dry ingredients, add the almond milk-yeast mixture a little at a time and stir. A dough that resembles moist (not crumbly) cookie dough should form (see photo). Add more of the wet mixture as needed. If it gets too wet and tacky (you should be able to form it into a ball when rolled), add more almond flour or GF flour blend. Set aside.
- Get a large cutting board and wrap it with plastic wrap (tuck the wrap down around the edges so it stays in place). Then dust the surface of the plastic wrap generously with gluten-free flour.
- Add the dough to the center of the board and sprinkle with more gluten-free flour. Then top with another sheet of plastic wrap and tuck down around the edges of the cutting board (so it stays in place). Use a rolling pin to roll the dough out into a large, thin rectangle. The dough should be about 1/8th-inch thick.
- Carefully remove the top layer of plastic wrap and brush on the vegan butter. Then sprinkle with brown sugar and cinnamon and spread gently with fingers to evenly distribute. Then, untuck the bottom layer of plastic wrap from the cutting board and use it to tightly roll the dough lengthwise into a cylinder (see photo).
- Use a serrated knife or floss (my preferred method) to cut into even rolls (as the recipe is written, 7-8). Then carefully transfer to the prepared pie dish or cake pan (they can be fragile to transfer).
- Cover with plastic wrap and a towel and set on top of the warm oven and let rise for about 30 minutes, or until the rolls have risen slightly and are touching (or close to touching) – they won’t get as voluminous as gluten-containing rolls, but they will puff up a bit!
- Remove towel and plastic wrap and place rolls on the center rack of your oven and bake for 30-35 minutes, or until tops are golden brown and the rolls have risen/expanded quite a bit. While the rolls bake, you can prepare a frosting/glaze (optional).
- Let the rolls cool at least 20 minutes before frosting (optional), then enjoy! Store leftover cinnamon rolls covered at room temperature for up to 3-4 days or in the freezer for up to 1 month. See notes for make-ahead cinnamon rolls to store in the freezer (unbaked).
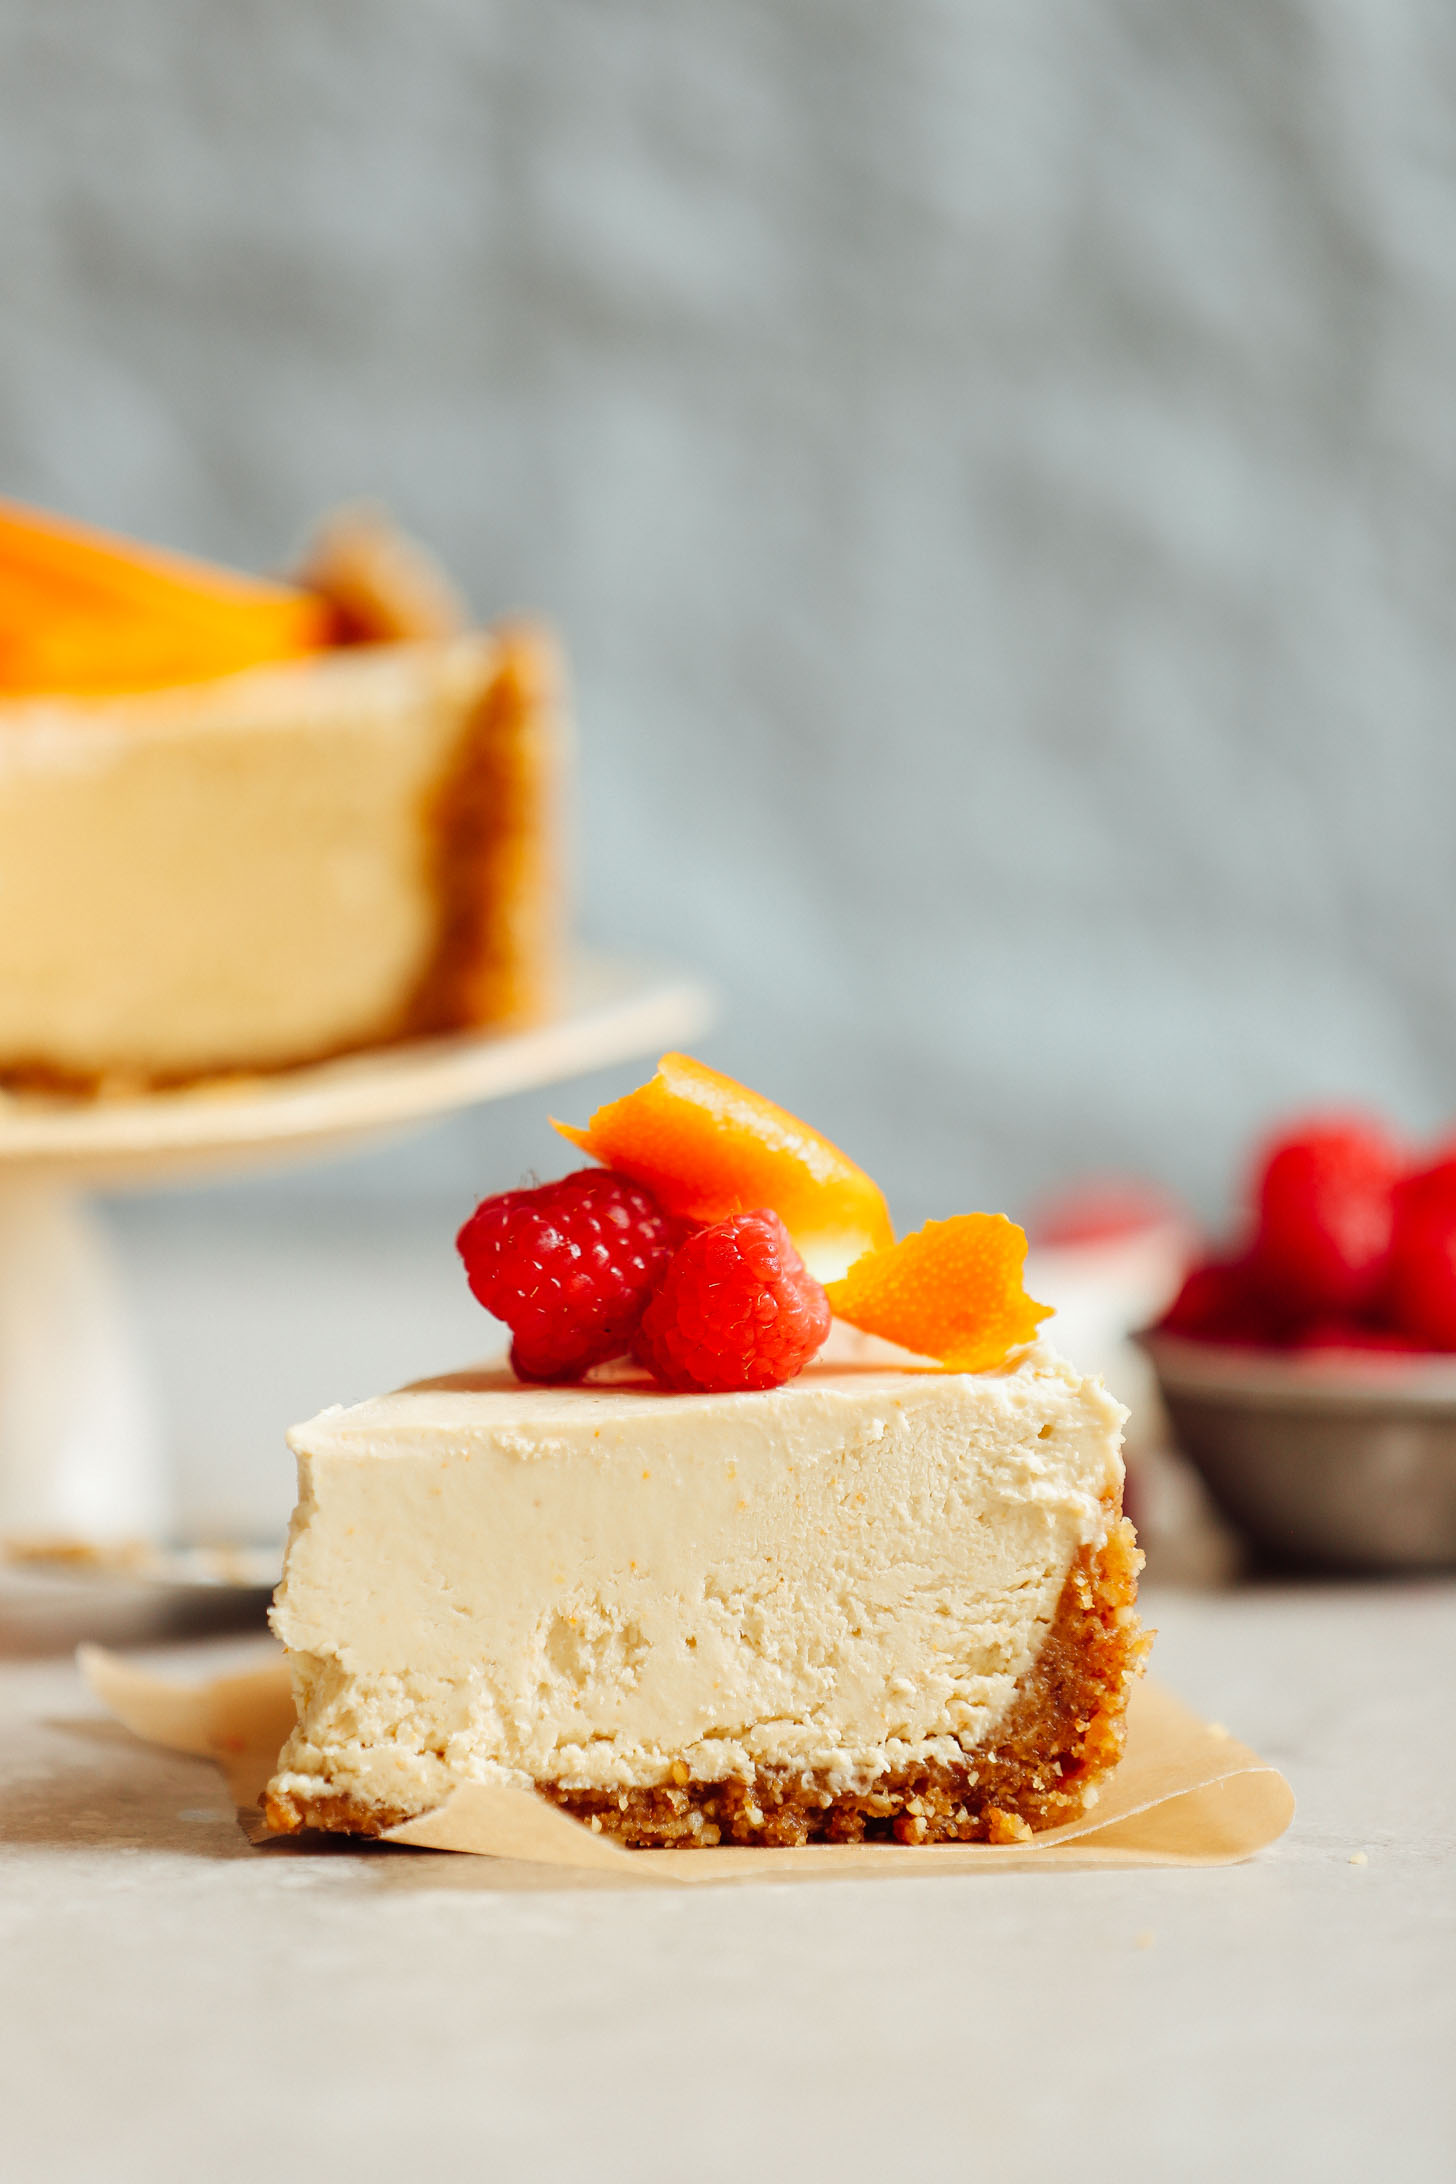
Vegan No-Bake Coconut Yogurt Cheesecake
Source: Minimalistbaker
The last item on our list takes the longest – though you can eat it as soon as you’re done preparing it because it is no-bake. This creamy, decadent vegan cheesecake is made with date-walnut crust with cashew-coconut-yogurt filing to provide the ultimate sweet-tangy treat. This recipe is both vegan and gluten-free
Prep Time: 8 Hours
Total Time: 8 Hours
Servings: 10
Crust
- 1 cup Medjool dates (packed, pitted // pitted before measuring)
- 1 1/2 cups raw walnuts (or sub raw almonds or rolled oats)
- 1 pinch sea salt
Filling
- 1 1/2 cups raw cashews (soaked overnight in cool water or in very hot water for 1 hour)
- 1 tsp vanilla extract
- 1 Tbsp citrus zest (orange or lemon)
- 1/4 cup lemon juice
- 1 Tbsp melted coconut oil (omit if oil-free)
- 1/2 cup maple syrup (use less for a more tart cheesecake)
- 3/4 cup coconut yogurt (or store-bought – we like COYO and Culina)
- 1/4 tsp sea salt
For Serving (Optional)
- Fresh berries
- Citrus zest/orange slices
- Coconut Whipped Cream
Instructions
- Prepare a cheesecake pan (I prefer this springform one, but round cake pans or loaf pans work as well) by lining with parchment paper. Set aside.
- Prepare the crust by adding dates to a food processor and blending until small bits remain and it forms into a ball. Remove and set aside.
- To the food processor, add walnuts and salt and process into a meal. Then add dates back in and blend until a loose dough forms – it should stick together when you squeeze a bit between your fingers. If it’s too dry, add a few more dates through the spout while processing.
- Add crust to pan and press with fingers to distribute. To pack it down, use a small glass wrapped in parchment paper and really press it down, allowing the crust to come up the sides. Set in the freezer to firm up.
- Add all filling ingredients to a blender and mix until very smooth – up to 2 minutes. If it won’t come together or appear chunky, add a touch more lemon juice, coconut yogurt, or maple syrup, as the liquid will help it blend better.
- Scrape down sides as needed and blend until very creamy and smooth. Taste and adjust flavor as needed, adding more maple syrup for sweetness, coconut yogurt for tanginess, or lemon or orange zest for citrus flavor.
- Add filling to the chilled crust and tap a few times to release any air bubbles. Then loosely cover with plastic wrap or wax paper and freeze until firm – about 6 hours or overnight. Before slicing and serving, let thaw slightly for about 20-30 minutes.
- Serve as is or top with a touch of coconut whipped cream and/or citrus zest and fresh berries.
- Store leftovers covered in the refrigerator for a softer cheesecake for up to 4-5 days or in the freezer for up to 1 month.
You can check out more amazing vegan dessert recipes at minimalistbaker.com.
HOW ADVERTISERS DUPE YOU INTO THINKING UNHEALTHY FOOD IS “HEALTHY”
When your are not baking healthy vegan food, you may be eating store-bought food. Be careful and learn how advertisaers dupe you into thinking unhealthy food is “healthy”.