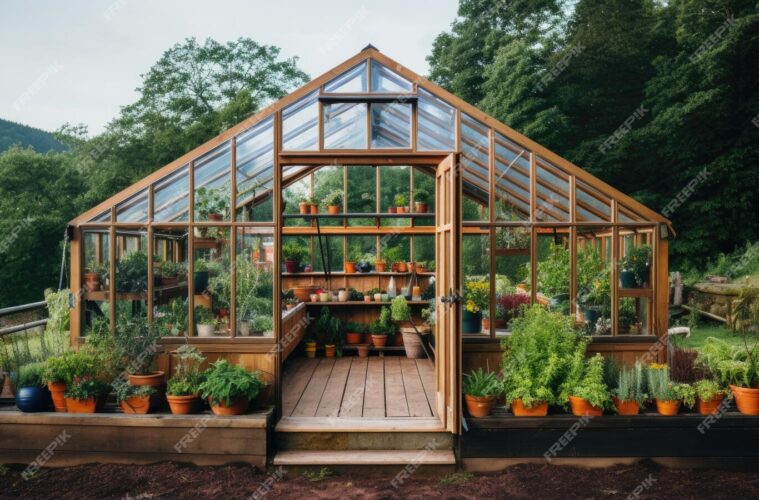
Hey there, green thumbs! Have you ever dreamt of having your own slice of paradise right in your backyard? Well, get ready to turn that dream into reality because we’re about to dive into the wonderful world of: how to build a green house on your property.
Now, I know what you might be thinking – “But isn’t building a greenhouse complicated and expensive?” Fear not, today we’re going to break it down into simple, easy-to-follow steps that even a novice gardener can handle.
Step 1: Choose Your Spot
First things first, you’ll need to pick the perfect spot for your greenhouse. Look for an area in your yard that gets plenty of sunlight throughout the day. Remember, plants love soaking up those rays, so the more sunlight, the better.
Selecting the perfect spot for your greenhouse involves more than just finding ample sunlight. Consider factors such as protection from strong winds, accessibility to water and power sources, soil drainage, adherence to local regulations, potential for future expansion, landscaping aesthetics, and privacy concerns.
By evaluating these aspects, you can ensure optimal growing conditions for your plants while seamlessly integrating the greenhouse into your outdoor space.
Step 2: Gather Your Materials
Now that you’ve found the perfect spot, it’s time to gather your materials. Don’t worry, you won’t need anything too fancy. All you’ll need are some basic tools like a hammer, nails, and a saw, along with materials like PVC pipes, plastic sheeting, and maybe some wood for framing.
Consider including items like hinges and latches for doors, as well as any additional insulation materials if you plan to extend the growing season or regulate temperatures inside the greenhouse. Gathering these materials beforehand ensures a smoother construction process and sets the stage for a successful gardening venture.
Step 3: Build Your Frame
Begin the construction of your greenhouse by assembling the frame using PVC pipes and wood. Lay out the design on a level surface, forming the base and connecting vertical supports at regular intervals. Secure a ridgepole along the top and add diagonal roof rafters for stability.
Ensure all connections are tight and consider adding reinforcements if needed. Test the stability of the frame before covering it with greenhouse plastic or other materials. Incorporate ventilation and a sturdy door for access, and add finishing touches like shelving or benches to personalize your greenhouse.
Step 4: Cover It Up
Once your frame is built, it’s time to cover it up with the plastic sheeting. This will create a cozy little haven for your plants, protecting them from the elements while still allowing plenty of sunlight to filter through.
Step 5: Add Some Finishing Touches
Now that your greenhouse is built, it’s time to add some finishing touches. Consider adding shelves or benches for your plants to sit on, and maybe even a watering system to keep them hydrated. Get creative and make it your own.
And there you have it – your very own greenhouse right in your backyard. With just a little bit of time and effort, you can create a beautiful space where your plants can thrive year-round. So what are you waiting for? Get out there and start building!
Published by HOLR Magazine.


