
The majority of homeowners only give their water heater any thought when something goes wrong, the water becomes lukewarm, or worse, the unit begins to sound like it’s trying out for a percussion band. Sediment accumulation is one of the most frequent and preventable problems that contractors who schedule plumbing services in addition to HVAC and electrical repairs frequently report. Click here for more on professional maintenance options if DIY isn’t your route. However, this is actually a doable weekend task for many people.
Over time, sediment from minerals in tap water settles at the tank’s bottom. If left unchecked, it reduces efficiency, reduces the unit’s lifespan, and causes a number of annoyingly common water heater problems. All of it can be avoided by flushing once a year.
Safety Precautions Before Flushing
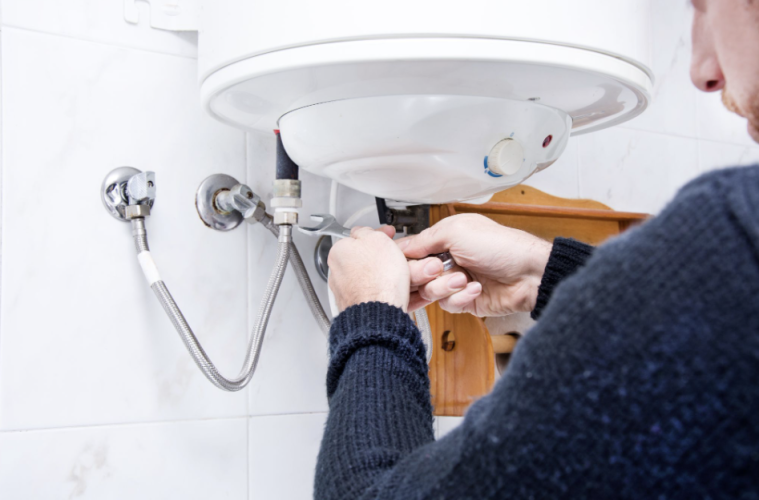
Don’t skip this part. Working near a water heater involves hot water, electrical components, or gas lines, depending on your setup, none of which are forgiving of careless mistakes.
Turn off the power first. For electric heaters, flip the breaker. Gas units should be switched to the “pilot” setting, not fully off, just reduced. Give the water at least an hour to cool if the heater’s been running recently. Tank water that has been sitting at 120–140°F is quite likely to scald.
Step-by-Step Guide to Flushing Your Water Heater
- To begin with, connect the garden hose to the drain valve. Most tanks have this valve near their bottom and it looks like a normal water tap. You may decide to let the water out of the hose at a floor drain, yard, or buckets as long as these places can accommodate discharged hot and sediment-laden water.
- Open a hot water tap somewhere in the house. A bathtub faucet works well. This prevents a vacuum from forming and helps water drain properly.
- Open the drain valve. Water will start flowing out. Early on, it may look rusty or cloudy; that’s the sediment doing exactly what you hoped it would.
- Let it drain completely. Depending on tank size, this takes 20–45 minutes. Don’t rush it.
- Use cold water to flush. Reopen the cold water supply for a short while and let it run through for a few minutes after the tank is empty. This causes any remaining silt to become loose and be flushed away. Until the water is clear, keep going.
- Disconnect the hose, shut off the drain valve, and refill. You can tell that the air is out of the system by keeping the hot water tap open until water flows steadily from it.
- Restore power or relight the pilot. Don’t do this until the tank is fully refilled. Running a water heater element dry, even briefly, can burn it out.
Maintenance Tips After Flushing
Examining the anode rod, a sacrificial metal rod that keeps the tank from internally corroding, is a good idea at this point. Replace it if it is extremely worn down (less than half an inch thick or covered in white calcium). They can extend a tank’s life by years and cost between $20 and $40.
Regular water heater maintenance is one of the best ways that a couple of hours of weekend work can pay off big time. This maintenance involves yearly cleaning, anode rod inspections, and temperature checks. Set yourself a recurring reminder.
Troubleshooting Common Issues During Flushing
The drain valve won’t open fully or water drains extremely slowly. This usually means heavy sediment accumulation has partially blocked it. Gently moving the valve back and forth is something you should first try to do. If it breaks or, after draining, it doesn’t seal again, you will have to get a new valve (they are available in hardware stores and changing them is quite easy).
Common water heater problems during this process also include a valve that drips even when closed. A little Teflon tape around the threads often fixes it. If the valve is cracked, replace it before calling the job done.
When to Call a Professional
Rust-colored water that won’t clear after a full flush, a sulfur smell that lingers, or any wetness around the tank’s base — those aren’t things to troubleshoot with a wrench and wishful thinking. And if the rumbling keeps going post-flush, that’s usually a worn element or a tank quietly heading toward the end of its life. Gas line concerns of any kind? Stop, and call a licensed plumber.
In Conclusion
Although flushing a water heater is a simple maintenance task, most people wait until an issue compels them to do so. If you do it once, you’ll see that it’s only a two-hour task that may significantly prolong the life of an appliance that would otherwise cost $500 to $1,500 to repair. That’s a pretty good trade.
Published by HOLR Magazine.