


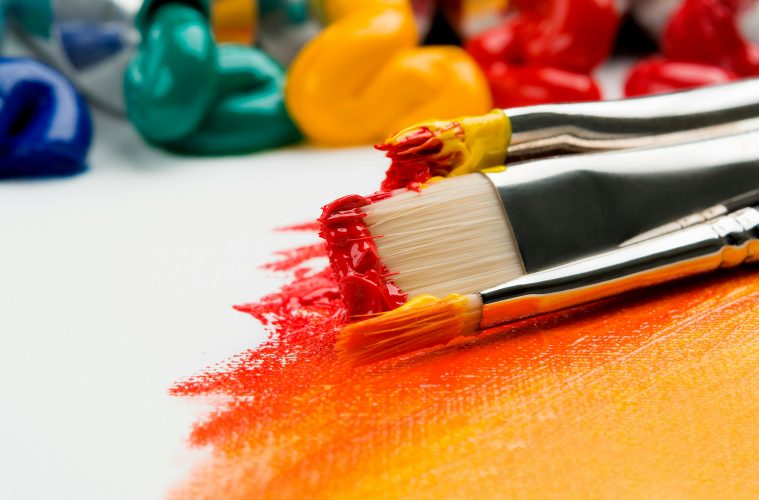
Acrylic paint is an accessible choice for beginners because it dries quickly, cleans up with water while wet, and works on many surfaces. You can start after dinner and finish a small painting or craft project in one session without the long drying times associated with oil paint.
Plan on 60 to 90 minutes for a first project. Thin layers may become touch-dry in about 10 to 20 minutes, depending on the paint, room temperature, humidity, and surface. A finished piece still needs days or longer to cure before varnishing. Below is a practical starter setup, a step-by-step first painting, two quick alternatives, and a few habits worth building early.
At a Glance: Why Acrylics Work for First-Timers
- Water cleanup while wet. Brushes and tools can be cleaned with water as long as paint hasn’t dried on them.
- Fast layering. Thin areas often dry to the touch within minutes, so you can add new layers during the same session.
- Surface flexibility. Acrylics work on canvas, acrylic paper, prepared wood, and many other clean, properly primed surfaces.
- Adjustable finish. Acrylic mediums can change sheen, transparency, drying time, and body without weakening the paint film.
- Clear product labels. In the US, an AP seal indicates that a material has been evaluated as non-toxic when used as intended. A CL seal identifies specific cautions. Always read the label and work in a normally ventilated room.
A Practical Starter Kit
You need less than the art supply shelf may suggest. Start with primary red, yellow, and blue plus white, or choose a limited palette suited to your project. Add a small gessoed canvas or panel, two synthetic flat brushes, one synthetic round brush, a palette, a water cup, a rag, and masking tape. A matte or gloss acrylic medium is helpful for thinning and glazing. A slow-drying medium is optional if you want more blending time.
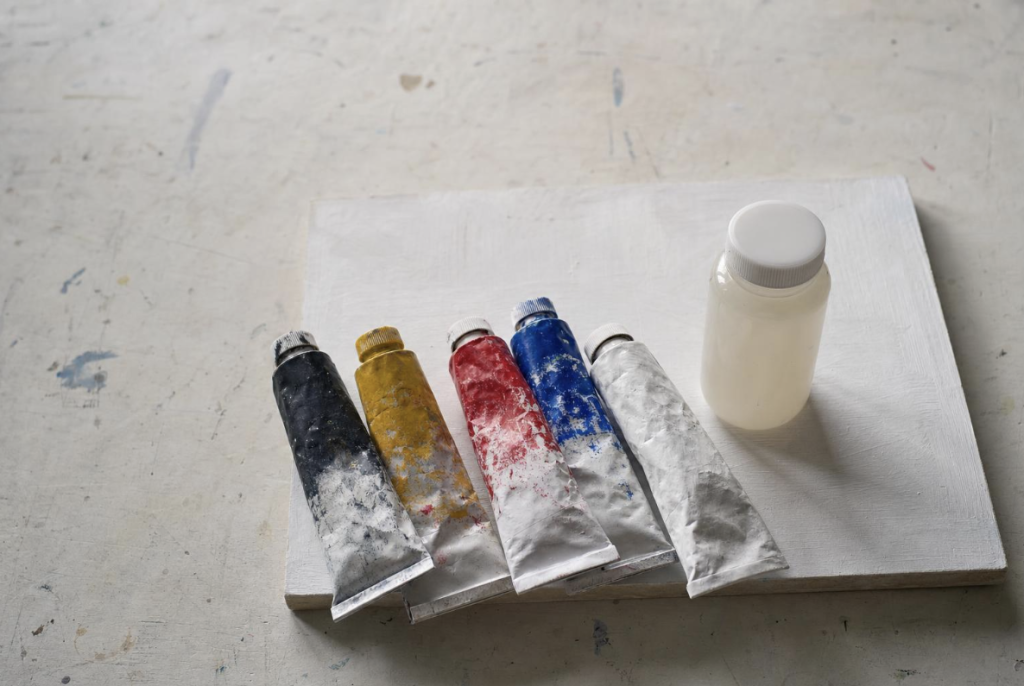
Choose a paint format based on the project. Heavy-body tube paint holds brush marks, fluid paint spreads easily, pouring paint is prepared for flowing applications, and paint markers suit controlled lines. Retail collections such as CraftOnline’s can help you compare these formats, but a few versatile tube colors are enough for a first painting.
Be cautious when thinning paint. A small amount of water is useful for initial layers and loose washes, but excessive water can reduce binder strength, especially on an unprimed or absorbent surface. Manufacturer recommendations differ, so test your paint on a gessoed scrap. Use acrylic medium when you need a large change in transparency or flow.
How to Prepare the Surface
The surface should be clean and free of oil, wax, dust, and loose material. Pre-primed canvas and panels are generally ready to use. Raw wood benefits from light sanding followed by one or more coats of gesso. Choose acrylic paper or another heavyweight paper that can tolerate moisture.
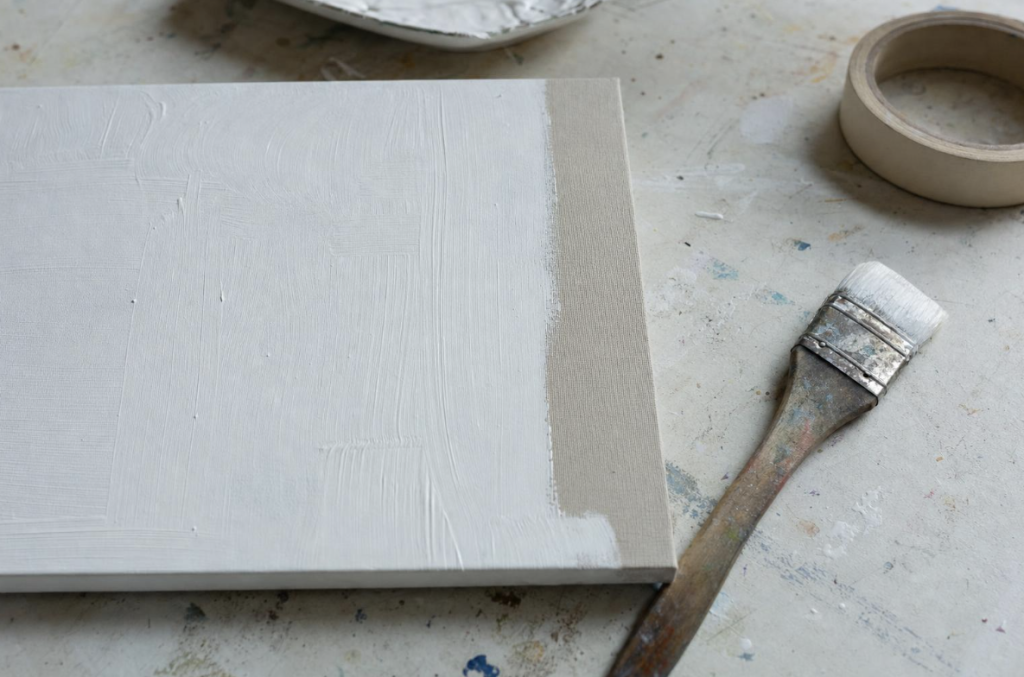
Glass, glazed ceramic, and plastic require more preparation because they are smooth and non-porous. Clean the surface, reduce the gloss if appropriate, and apply a compatible primer. Test a small hidden area before painting the entire object. Decorative paint may not withstand frequent washing or outdoor exposure unless the complete system is rated for that use.
Your First Mini Painting, Step by Step
- Tape the outer edges of the canvas to create a clean border. Lightly sketch one simple subject, such as a leaf, hill, or mug.
- Block in the largest shapes with slightly thinned color. Keep the first layer loose and let it become touch-dry before painting over it.
- Use a glaze to adjust an area. Mix a small amount of color into acrylic medium, then brush it over dry paint to deepen or warm the color without hiding the layer below.
- Add highlights, shadows, and small details after the lower layers are dry. Acrylic paint markers, including those available through CraftOnline, can make fine lines easier than using a very small brush.
- Remove the tape carefully once the surface is touch-dry. If paint has formed a firm film over the edge, score it lightly before lifting the tape. Set the piece aside to cure before applying varnish.
Five Acrylic Techniques to Try
- Dry brushing: Remove most of the paint from a dry brush, then drag it lightly across the surface to highlight texture.
- Glazing: Mix transparent color with medium and apply it over dry paint to change the tone or add depth.
- Scumbling: Scrub a broken layer of opaque color over dry paint to soften an edge or create visual texture.
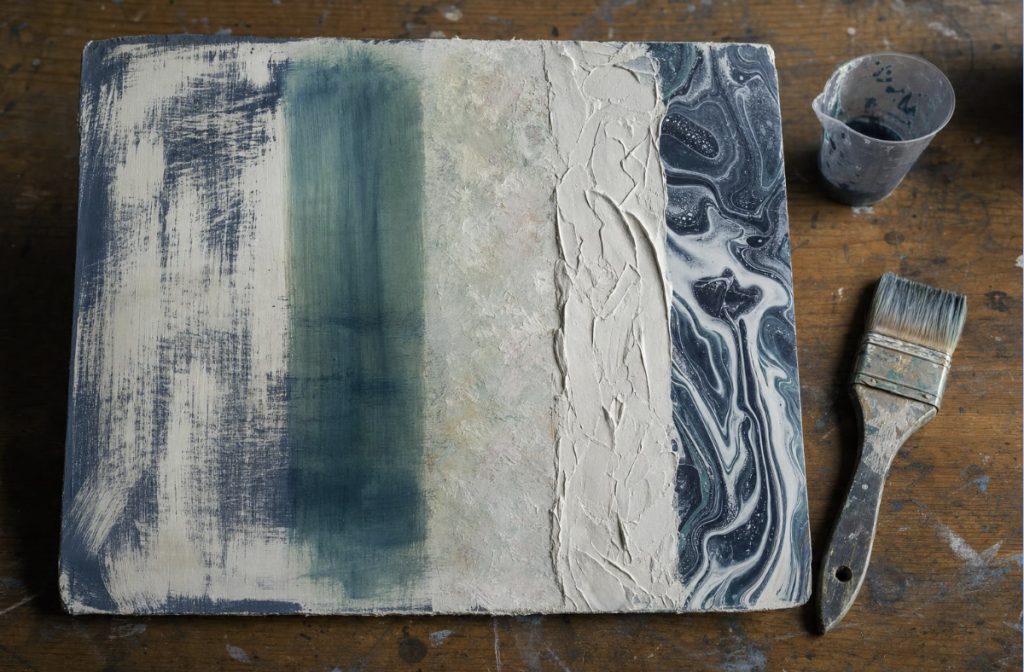
- Impasto: Mix paint with a gel medium to build raised marks that retain their shape.
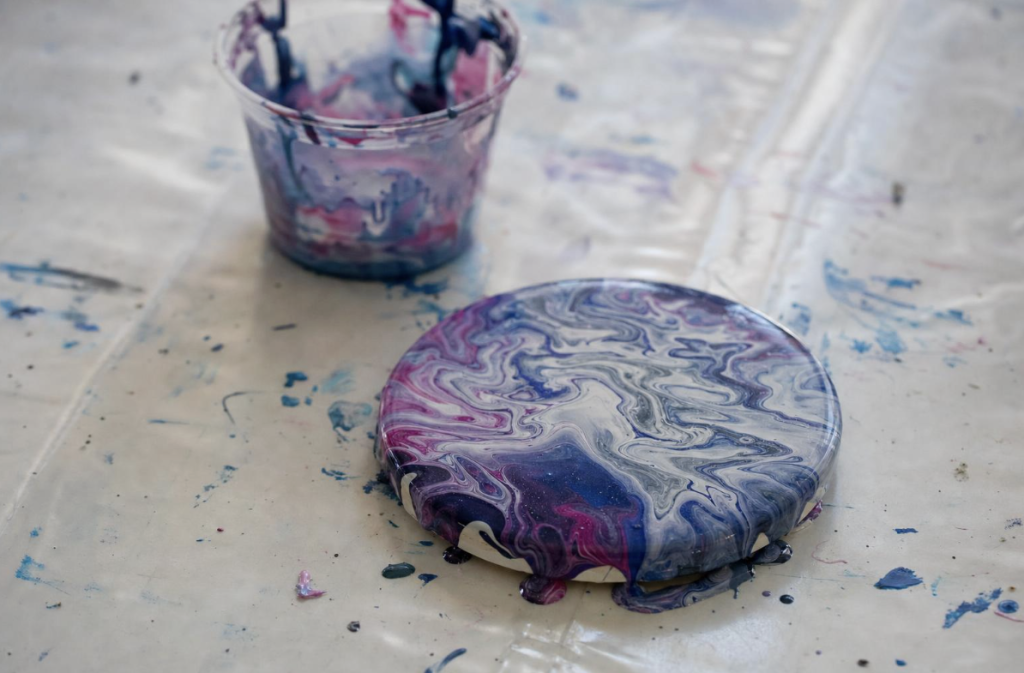
- Pouring: Use ready-to-pour paint or combine regular acrylic paint with a suitable pouring medium so it flows while maintaining a stable film.
Two Weekend Alternatives
A poured coaster or tray. Protect the work area and place the object on a level surface before mixing any paint. Poured applications stay wet much longer than thin brushed layers, so leave the piece undisturbed until it has dried throughout. Follow the product label for mixing ratios and curing time. To compare formats before trying a flow project, browse acrylic paint options.
A stenciled tote. Place cardboard inside the tote to stop paint from bleeding through. Mix the paint with a fabric medium according to its instructions, apply several light layers through the stencil, and allow the design to dry. Heat-set it only if the product label calls for that step. Test the process on a scrap of similar fabric before working on the tote.
Finishing and Protecting the Piece
Varnish can even out the sheen and provide a protective surface. Before applying it, confirm that the paint has cured rather than merely dried to the touch. Manufacturer guidance ranges from a few days for thin layers to a week or longer for thick impasto. Follow the instructions for the specific paint and varnish you use.
If you want the varnish to remain removable, the system may require an isolation coat between the paint and varnish. Apply thin, even coats in a clean, dust-free area. Avoid brushing over a section that has started to set because repeated strokes can leave streaks or cloud the finish.
Cleanup and Safer Habits
Wipe excess paint from brushes, palette knives, and other tools before washing them. This reduces the amount of acrylic solids entering the drain. Never allow acrylic paint to dry in brush bristles because the hardened film is difficult to remove without damaging the brush.
Let small amounts of leftover palette paint dry before disposing of them as solid waste. For rinse water, allow the solids to settle or filter them out where local rules permit, then dispose of the residue appropriately. Requirements vary by municipality, so check local waste guidance rather than assuming that every acrylic product can go in household rubbish or down the sink.
Buying Materials Without Overspending
Student-grade paint costs less and is suitable for practice, studies, and many craft projects. Professional paint generally contains a higher pigment load and provides more detailed information about opacity and lightfastness. Lightfastness describes how well a color resists fading when exposed to light, which matters most for artwork intended for long-term display. For a structured, all-in-one project option, beginner paint-by-numbers kits offer guided designs.
Buy for the project rather than collecting every format. Heavy-body paint is a flexible starting point for canvas work, while fluid paint suits fine detail and smooth coverage. Choose pouring paint for pours and fabric medium for washable textiles. Check whether the surface needs primer, whether the finished object will face moisture or sunlight, and whether the colors carry useful lightfastness ratings.
A limited palette also teaches color mixing and reduces waste. Replace individual colors as you use them instead of buying a large set with shades you may never open. Store tubes tightly closed at a moderate room temperature and wipe paint from the threads so the caps remain easy to remove.
Published by HOLR Magazine.