


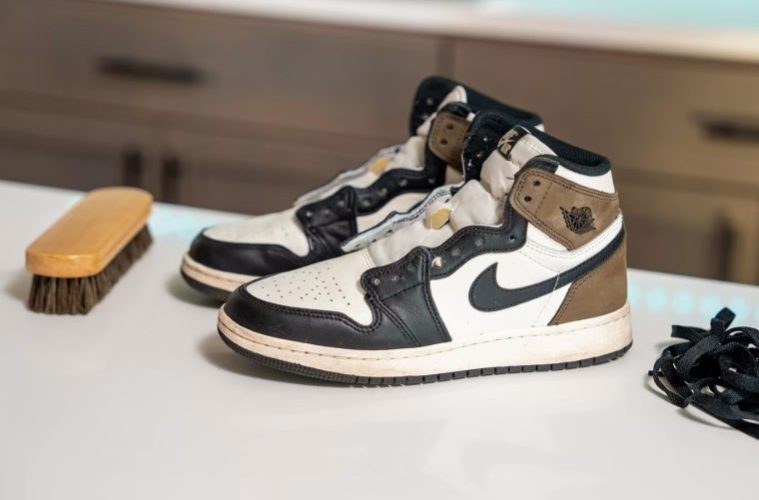
Cleaning sneakers safely starts with identifying the material, choosing gentle methods, and knowing when stains should be treated instead of aggressively scrubbed.
Know What Your Sneakers Are Made Of
August 13, 2026 – Before reaching for soap, water, or a cleaning brush, take a close look at your sneakers. Modern footwear often combines several materials, including leather, suede, mesh, fabric, rubber, and foam, and each one responds differently to moisture and cleaning products.
That makes a one-size-fits-all cleaning routine risky. A method that works perfectly well on rubber soles could damage suede, while aggressive scrubbing might push dirt deeper into delicate mesh.
The first step is therefore surprisingly simple: identify the materials used throughout the shoe.
Check the upper, tongue, lining, midsole, outsole, and any decorative panels. If the manufacturer provides specific care instructions, those should take priority.
Once you know what you’re working with, you can choose a cleaning method that removes dirt without unnecessarily exposing the shoe to water or harsh chemicals.
Credit: GQ
Don’t Expect Box-Fresh Results Every Time
Cleaning can make a well-worn pair look considerably better, but it cannot necessarily return it to its original condition.
Sneakers naturally change with use. Creases, small scratches, fading, discoloration, and other signs of age can become permanent parts of the shoe. Some materials also deteriorate internally as they get older, meaning cleaning alone cannot reverse the damage.
This is particularly important with older sneakers containing polyurethane foam. As this material ages, exposure to moisture, oxygen, and humidity can contribute to deterioration, eventually making the foam yellow, brittle, or crumbly.
Trying to aggressively wash an aging pair won’t necessarily solve those problems. In some cases, excessive moisture can accelerate deterioration.
A successful cleaning should therefore be measured by whether the sneakers look refreshed and presentable—not whether they appear untouched since the day they came out of the box.
Start With the Gentlest Cleaning Method
When it comes to sneaker care, more aggressive does not automatically mean more effective.
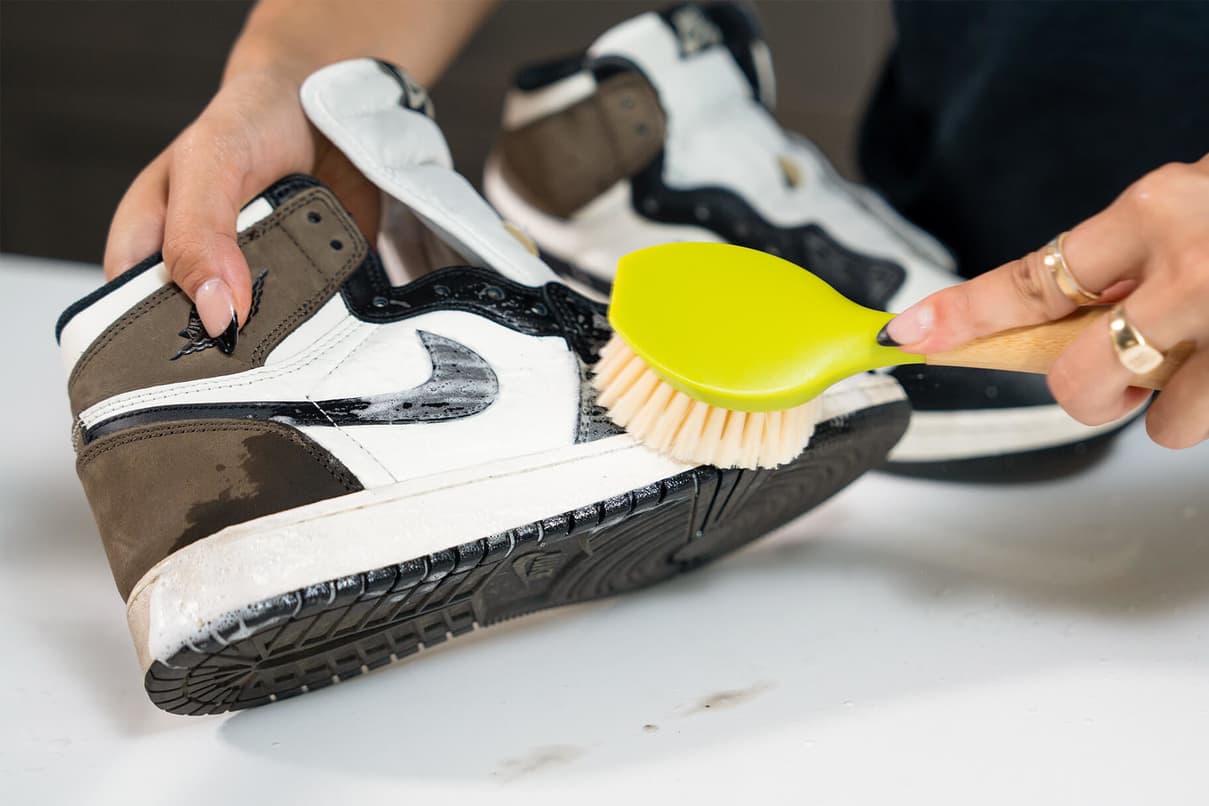
Start with a mild, general-purpose cleaner or a dedicated sneaker-cleaning solution and a soft brush. Apply a small amount and work gradually rather than soaking the entire shoe.
For fabric and mesh, gentle repeated passes are generally preferable to aggressive scrubbing. Dirt can become trapped between fibers, so patience may produce better results than applying excessive pressure.
After working on a small area, wipe away the loosened dirt and inspect the material before continuing.
This gradual approach also gives you an opportunity to notice whether a cleaner is affecting the shoe’s color or finish. Once a strong chemical strips pigment or damages a surface, reversing the problem can be extremely difficult.
Treat Mesh With Extra Care
Mesh sneakers can be particularly challenging because dirt can become embedded within the fabric rather than remaining on the surface.
A soft brush is useful here, but the goal should be to loosen dirt rather than aggressively attack the fibers. Apply a small amount of cleaner, gently work the affected area, wipe it away, and repeat if necessary.
Several light cleaning passes are generally safer than one forceful scrub.
Avoid saturating mesh unnecessarily. Excess water can make drying more difficult and may affect other materials attached to the upper.
If you’re dealing with a particularly dirty pair, take your time and work section by section rather than trying to clean the entire sneaker in one aggressive session.
Credit: Nike
Suede Needs a Different Approach
Suede may look delicate, but it doesn’t necessarily require the same treatment as mesh or fabric.
For everyday dirt and marks, a suede eraser and a dedicated suede brush can be useful tools. The key is using products and techniques intended specifically for suede rather than treating it like ordinary fabric.
Water-heavy cleaning methods can alter the appearance of suede, so avoid reaching for a soaking solution simply because another pair of sneakers responded well to it.
Brush the material gently and follow the direction of the nap when appropriate. For stubborn marks, repeat the process gradually instead of immediately escalating to harsh chemicals.
Be Careful With Coated Leather
Leather sneakers can be deceptive because some modern footwear uses heavily treated or coated leather surfaces.
These finishes can make shoes more resistant to stains, but once the outer coating becomes scratched, damaged, or starts peeling, cleaning cannot necessarily repair it.
For that reason, avoid aggressive chemicals and excessive rubbing unless you’re certain the material can handle them.
A gentle cleaner and soft cloth are generally a better starting point. Test any product on a small, inconspicuous section first, particularly when you’re dealing with colored or finished leather.
Clean the Soles Separately
The soles of your sneakers can usually handle more vigorous cleaning than the upper, making them a good place to use a firmer brush.
Start by removing loose dirt and debris from the outsole. A dry brush can help loosen mud before you introduce any water or cleaner.
Once the larger particles are gone, use a small amount of cleaning solution with a brush to work around the tread and edges. A toothbrush can be useful for reaching narrow grooves and textured sections.
Try to keep the cleaning solution concentrated on the rubber rather than allowing it to spread unnecessarily onto delicate upper materials.
:max_bytes(150000):strip_icc()/how-to-wash-tennis-athletic-shoes-2147002-schema-adfbd841b6b04bc39992aa4f808b1138.jpeg)
Credit: Shutterstock
Remove the Laces Before Cleaning
Taking the laces out before cleaning makes the rest of the process considerably easier. Laces can trap dirt around the eyelets, while leaving them in place can prevent you from properly cleaning the areas underneath.
Wash fabric laces separately using a mild cleaning solution and gently work the dirt out. Once clean, rinse them thoroughly and allow them to dry completely before putting them back.
Removing the laces also gives you better access to the tongue and areas around the eyelets, where dust and grime can accumulate over time.
Don’t Put Every Pair in the Washing Machine
A washing machine might seem like the quickest way to clean sneakers, but it’s not necessarily the safest option.
The combination of water, agitation, detergent, and heat can be particularly hard on shoes made from delicate materials or constructed with multiple glued components. Suede, leather, and older sneakers are especially poor candidates for an aggressive machine wash.
Even when a sneaker appears sturdy, hand cleaning gives you much greater control over how much water and pressure each part receives.
If the manufacturer’s care instructions specifically allow machine washing, follow those instructions carefully. Otherwise, hand cleaning is generally the safer approach.
Dry Sneakers Slowly and Naturally
Drying is just as important as cleaning. After washing, remove excess moisture with a clean towel and leave the sneakers somewhere with good airflow.
Avoid placing them directly against a strong heat source. Radiators, hair dryers, and other intense sources of heat can potentially affect adhesives, materials, and the shape of the shoe.
Stuffing the sneakers loosely with clean paper can help them maintain their shape while they dry. Replace the paper if it becomes damp.
Most importantly, give the shoes enough time to dry completely before wearing them again. Putting damp sneakers back into regular use can encourage unpleasant odors and leave moisture trapped inside the shoe.
:max_bytes(150000):strip_icc():format(webp)/how-to-wash-tennis-athletic-shoes-2147002-06-34b6b5004b8b4823ab3508bcbbd22140.JPG)
Credit: The Spruce / Fiona Campbell
Protect Them After Cleaning
Once your sneakers are clean and completely dry, prevention can make future cleaning much easier.
Depending on the material, a suitable protective spray can help reduce the impact of dirt and moisture. Always choose a product specifically intended for the shoe’s material and follow its application instructions.
Regular light cleaning is also preferable to waiting until dirt has accumulated heavily. Wiping down surfaces and addressing stains relatively early can prevent them from becoming more difficult to remove.
Store sneakers in a cool, dry environment and allow them to air out between wears when possible.
Final Thoughts
Keeping sneakers clean doesn’t require an aggressive approach. The safest routine is to identify the materials first, remove loose dirt, use gentle cleaning products, treat each section according to its construction, and allow the shoes to dry naturally.
Suede, leather, mesh, fabric, and rubber all have different requirements, so taking a few extra minutes to adjust your technique can make a meaningful difference.
Most importantly, don’t confuse cleaning with restoration. A well-loved pair may still show creases, scratches, or signs of age after a thorough wash. That’s perfectly normal. The goal is to remove dirt and refresh the sneakers without damaging the character and materials that make them worth wearing.
FAQs
Can you put sneakers in the washing machine?
Some sneakers may be machine washable, but it depends on the materials and the manufacturer’s care instructions. Hand cleaning is generally safer for delicate footwear.
How should you dry sneakers after washing them?
Let them air-dry naturally in a well-ventilated area. Avoid strong direct heat, which can affect certain materials and adhesives.
Can you wash suede sneakers with water?
Suede requires more careful treatment than fabric or rubber. Dedicated suede brushes and erasers are generally preferable to soaking the material.
How often should you clean sneakers?
Clean them whenever dirt or stains become noticeable rather than following a rigid schedule. Regular light cleaning can help prevent heavy buildup.
Can cleaning restore old sneakers completely?
Not always. Cleaning can remove dirt and improve their appearance, but permanent creases, scratches, discoloration, and material deterioration may remain.
Published by HOLR Magazine